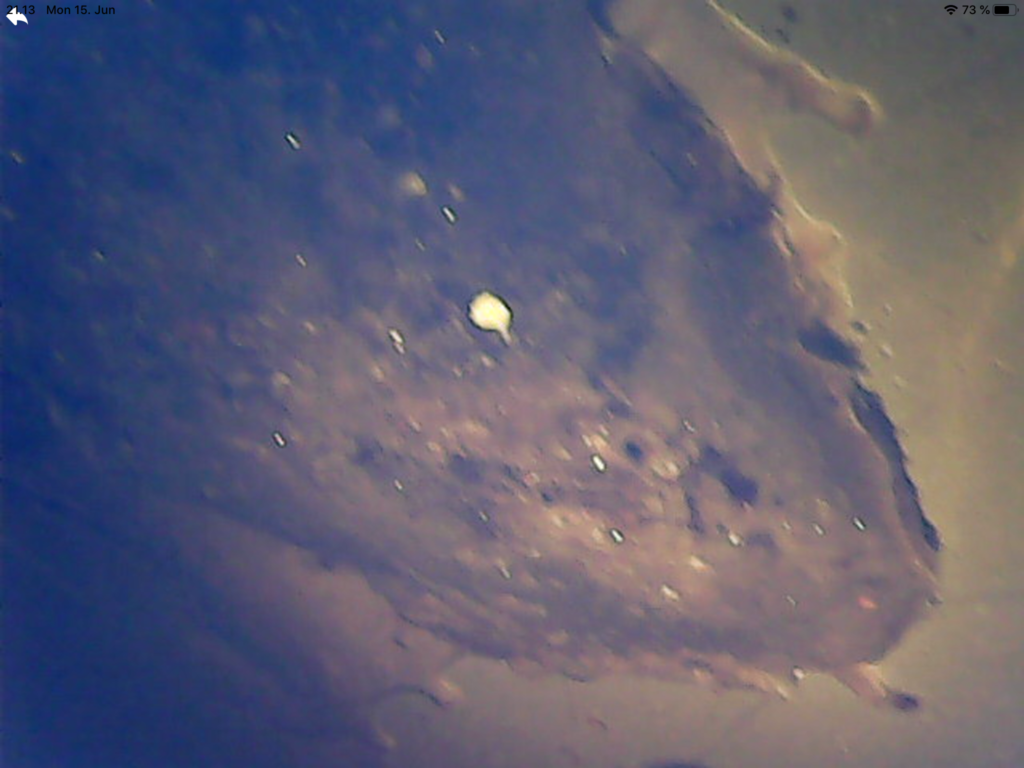
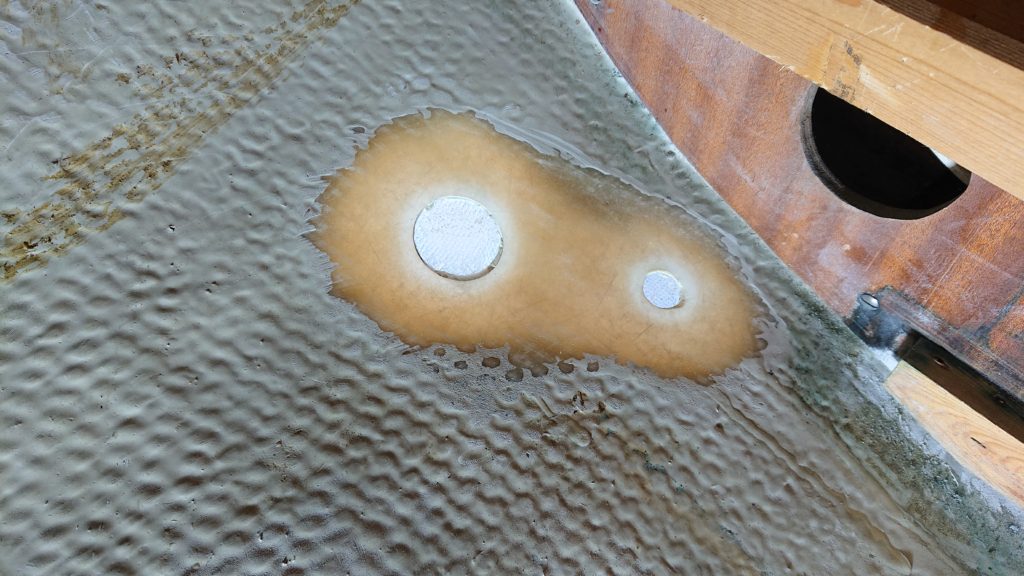
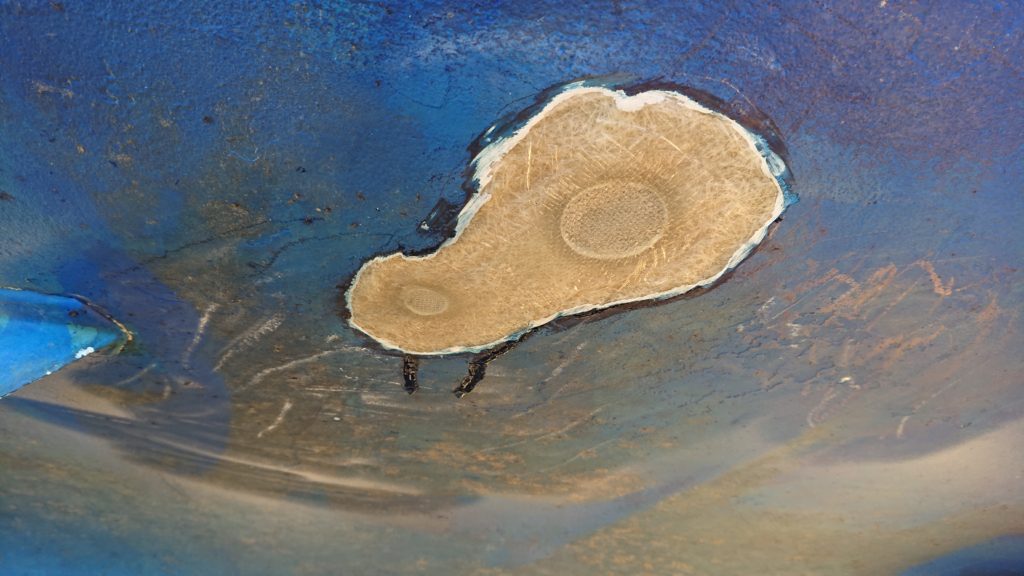
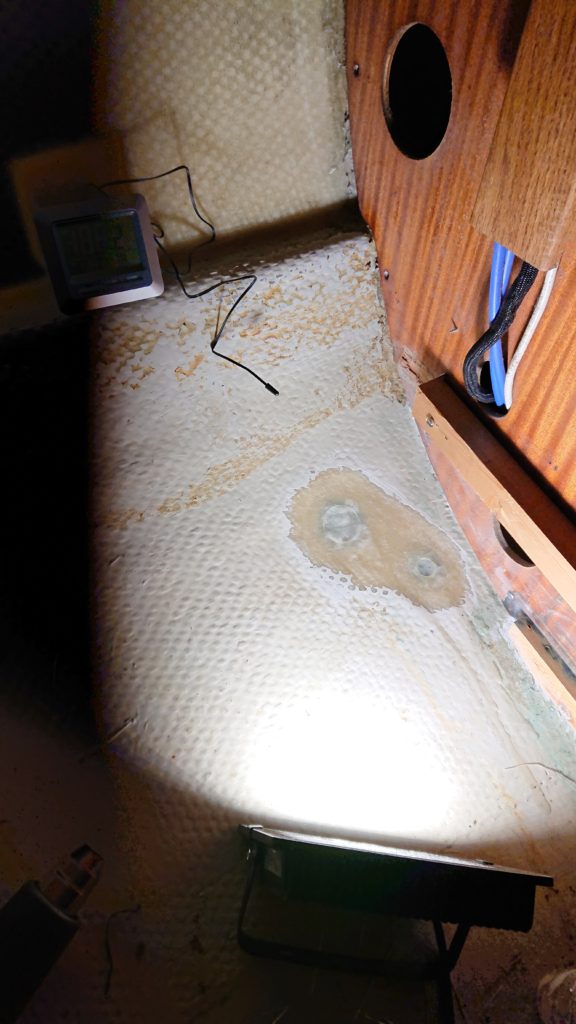
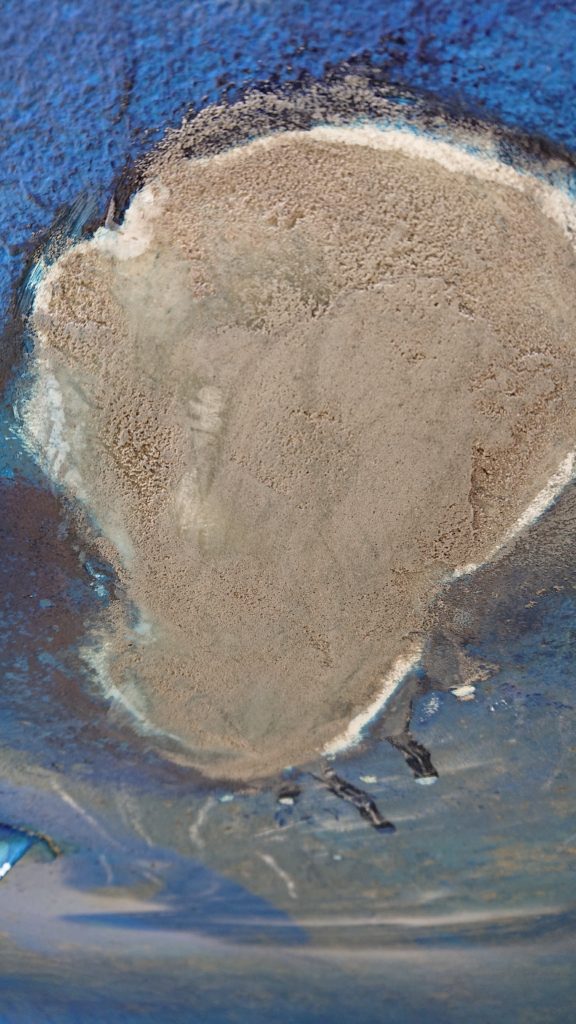
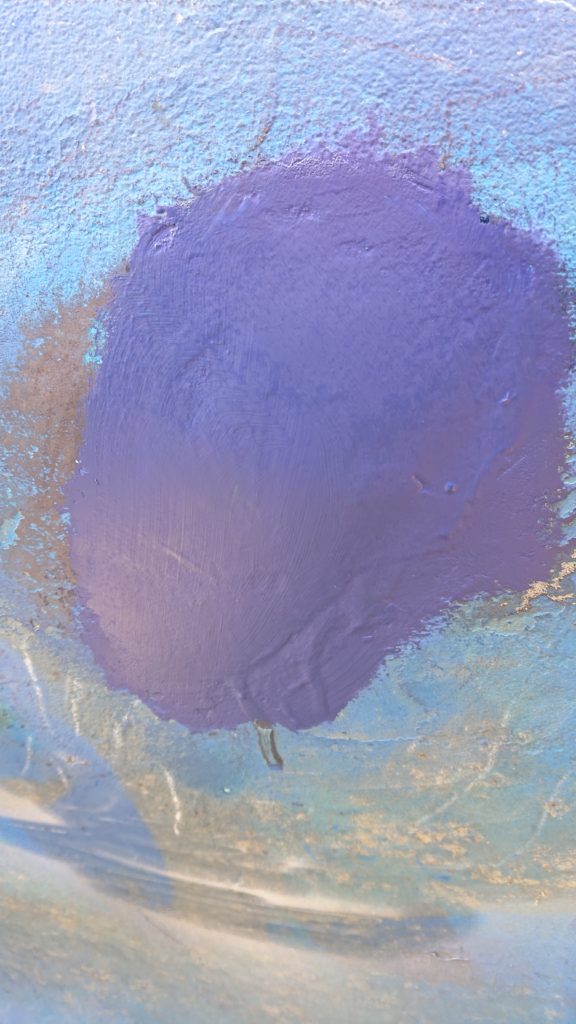
Something that has been on the todo-list for a while was to take a proper look inside the fuel tank. I got my hands on an endoscope and to my horror found this huge blob of something on the bottom. Had to get it out!
Disgusting!
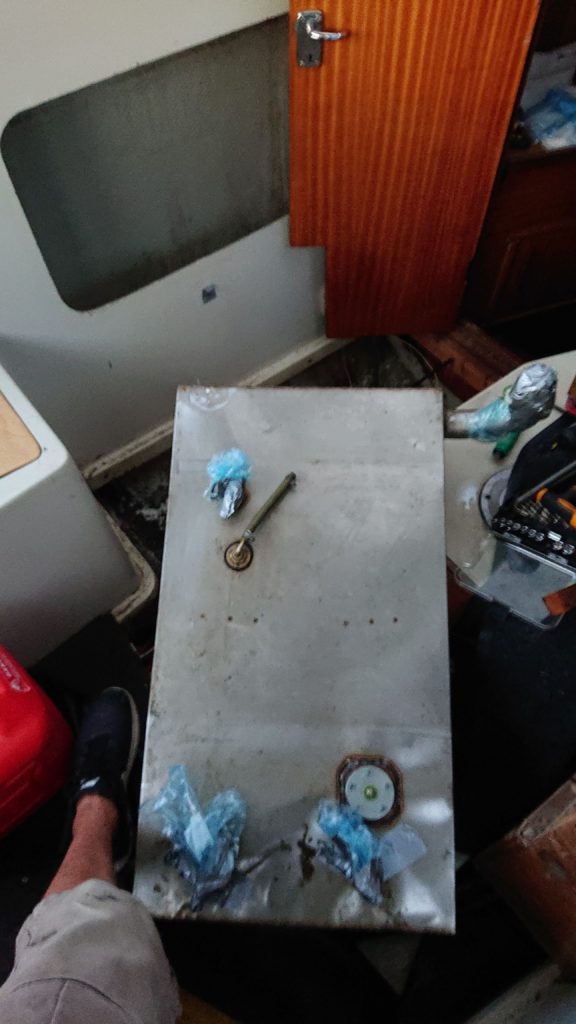
So I had to get the fuel tank out and bring it home for cleaning. Pretty easy if you are able to empty it completely first.
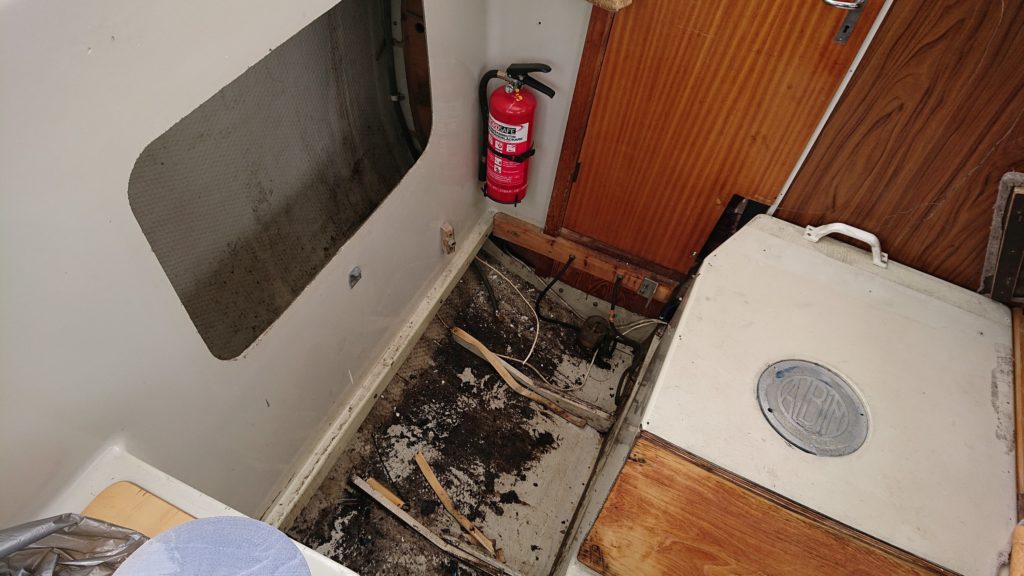
It’s out!50 years of dirt under the fuel tank
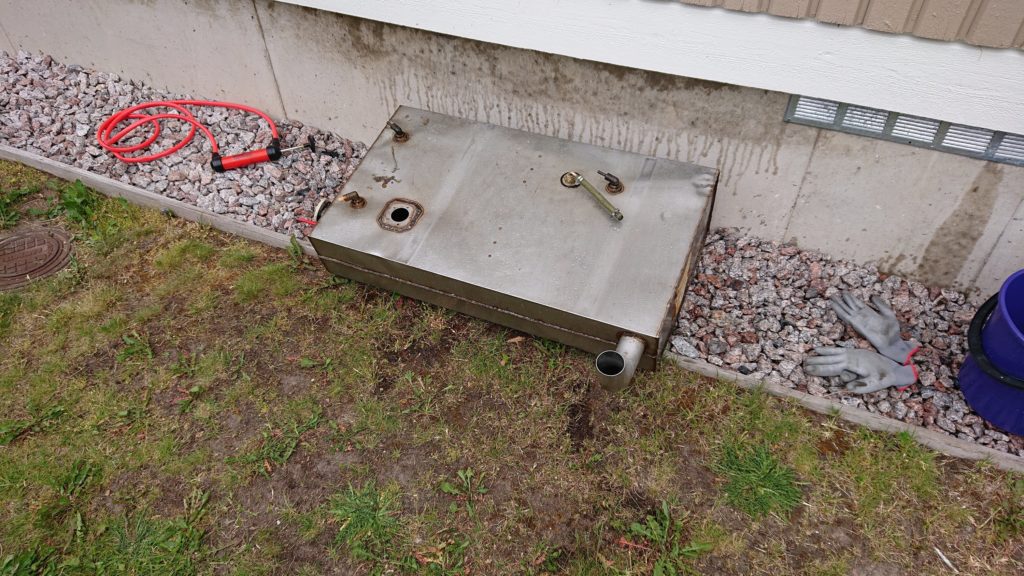
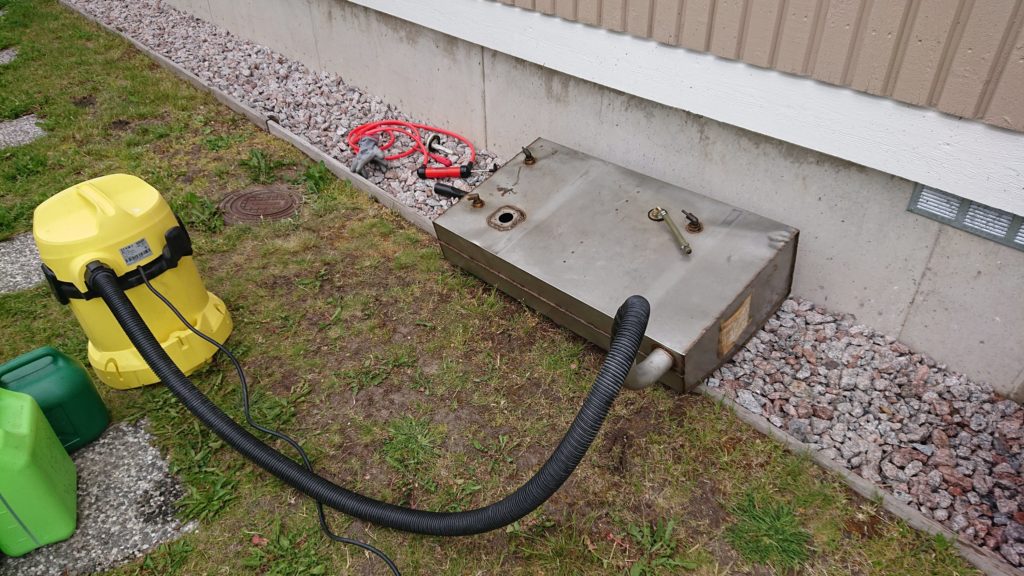
So I took the tank home and emptied the rest of the diesel in some jugs. The last bits were all black goo. Then I used a pressure washers with warm water to rinse the tank multiple times until clean water ran out.
To help dry the fuel tank, I used the blow function on my wet vacuum and let it run for half an hour or so. Nice and clean now!
Fuel tank at homeDrying with blowing function of wet vacuum
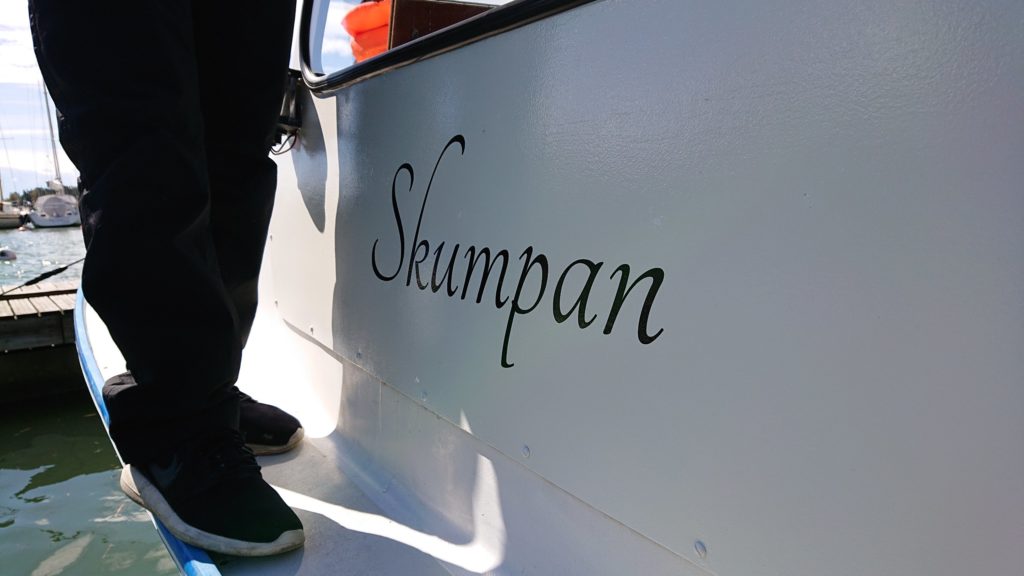
We’ve waited with attaching the new name sticker until the outside of the doghouse was painted and finally there was time for it, just before splashing the boat this spring. We only had time to apply one coat of primer before some rainy days and then it was already time to put the boat in the water so the rest of the coats were applied on water. But it turned out okay anyway. The primer used was Hempel Primer Undercoat white and on top of that the same paint as on the inside, Hempel Brilliant Gloss off white.
Fairing some holesFirst coat of primerRest of the paint job done on waterSticker is on!
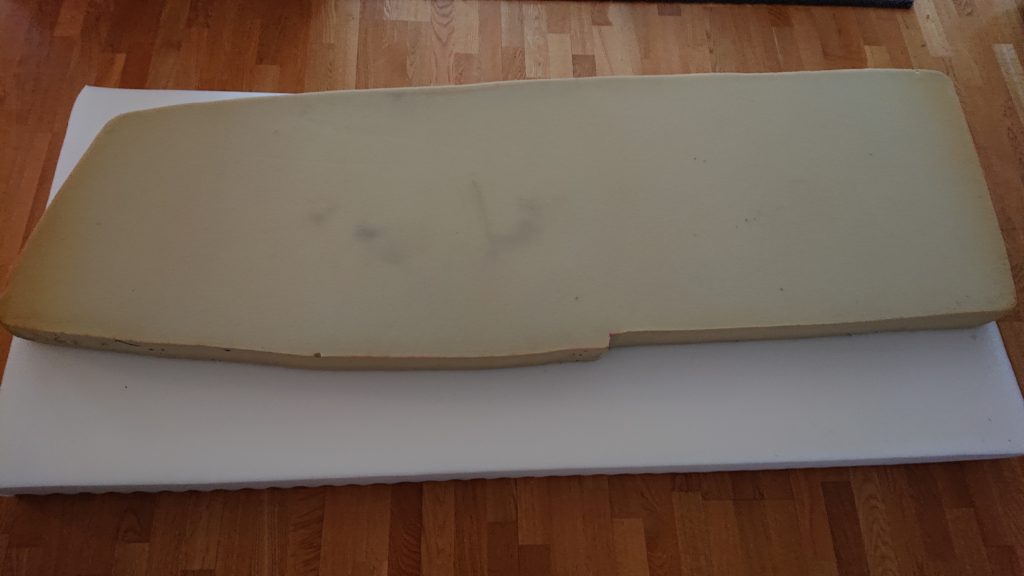
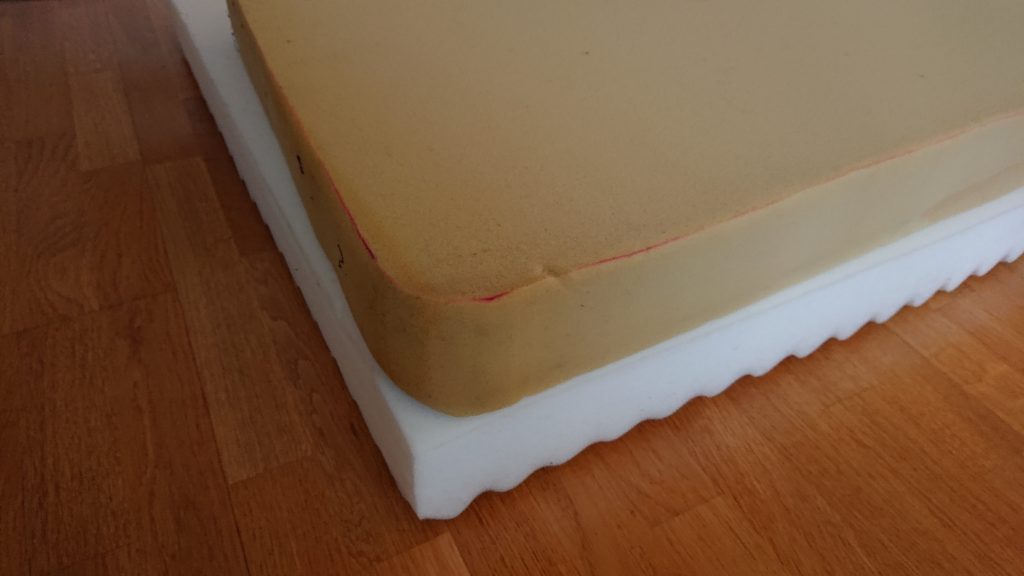
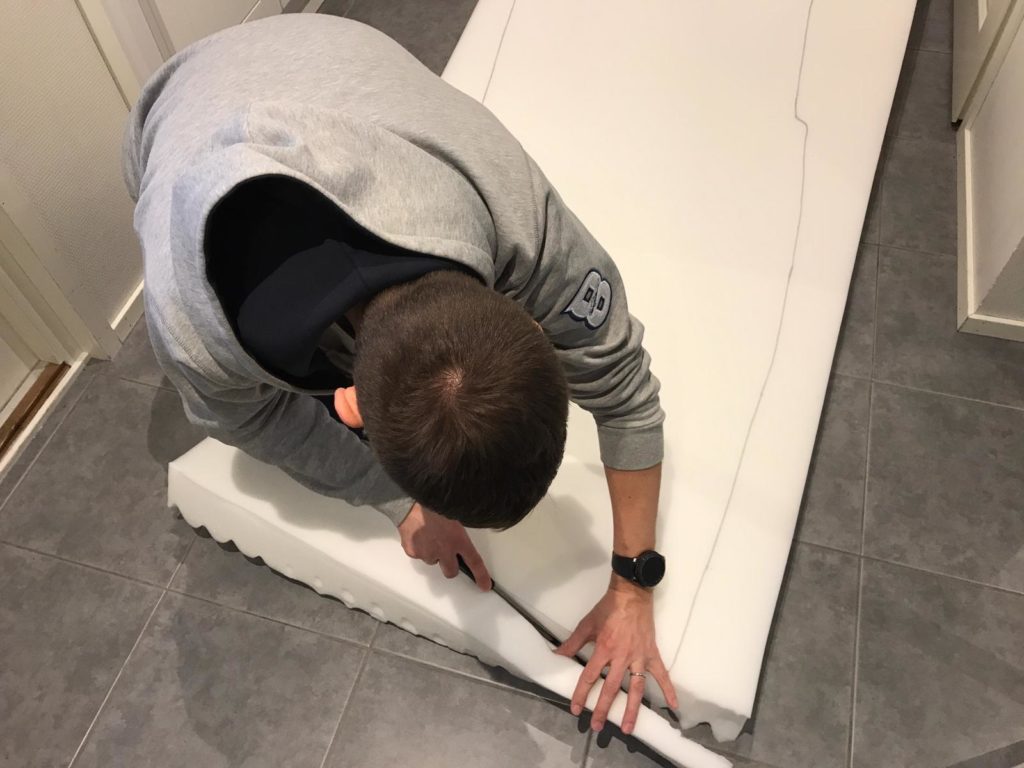
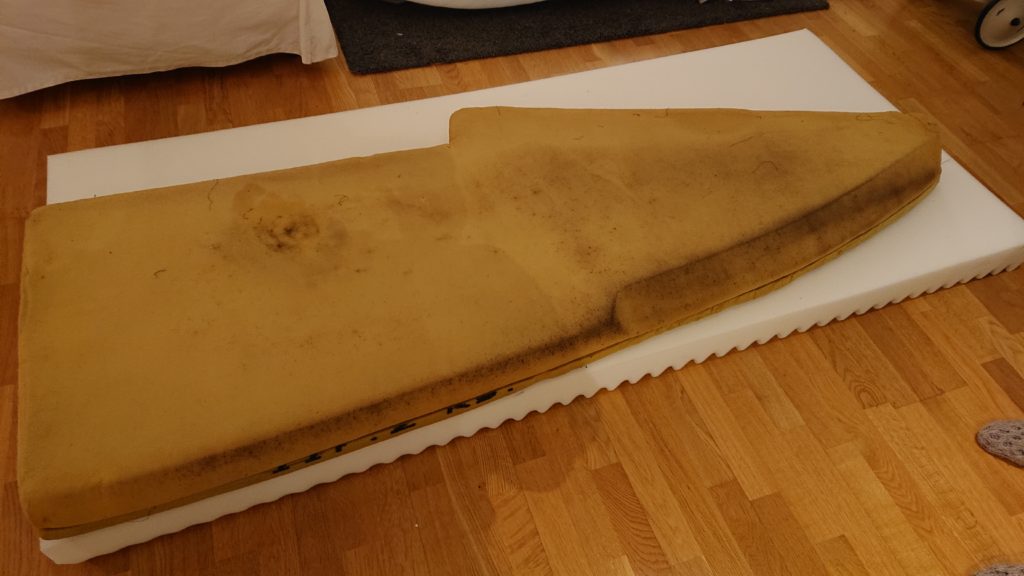
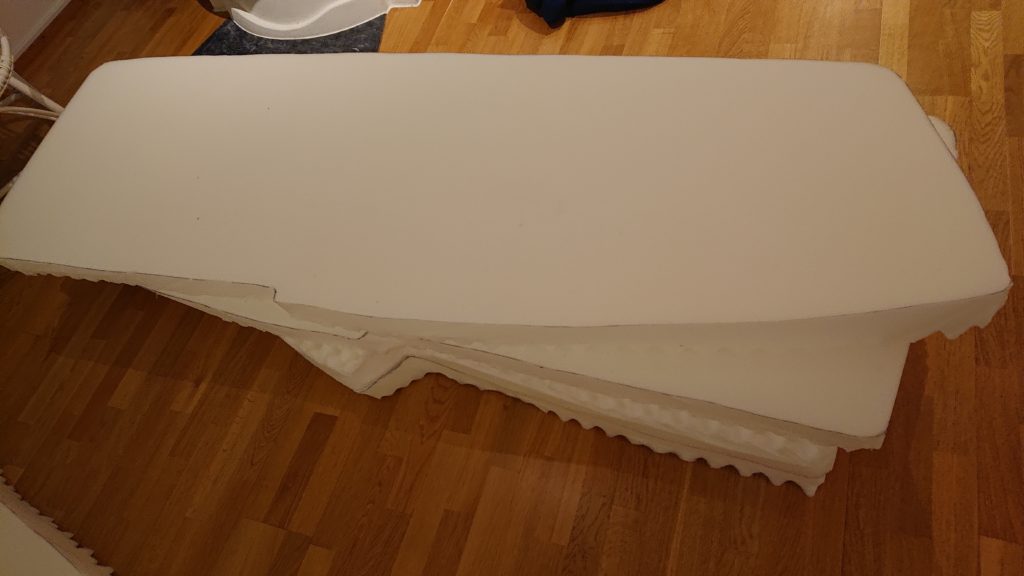
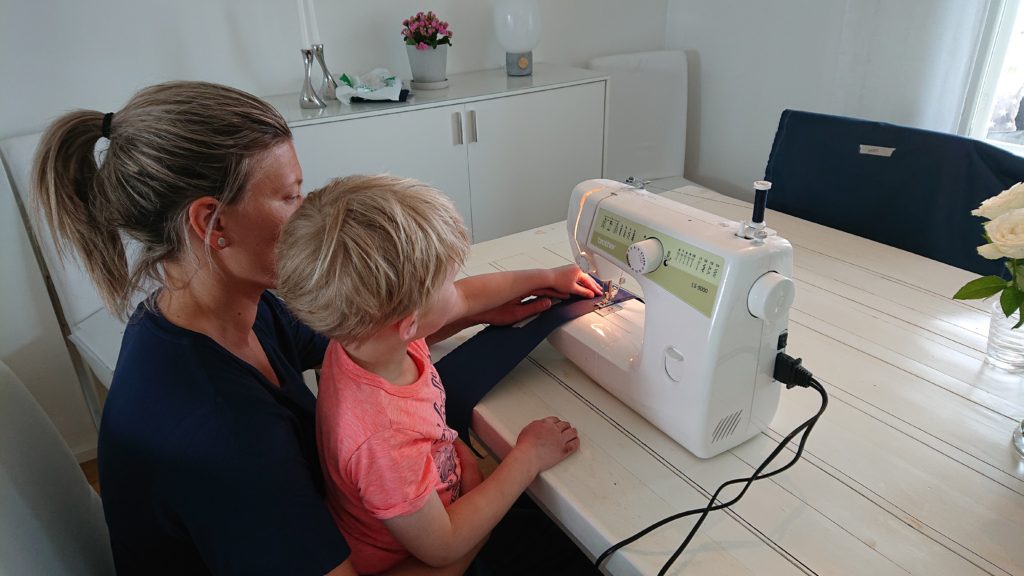
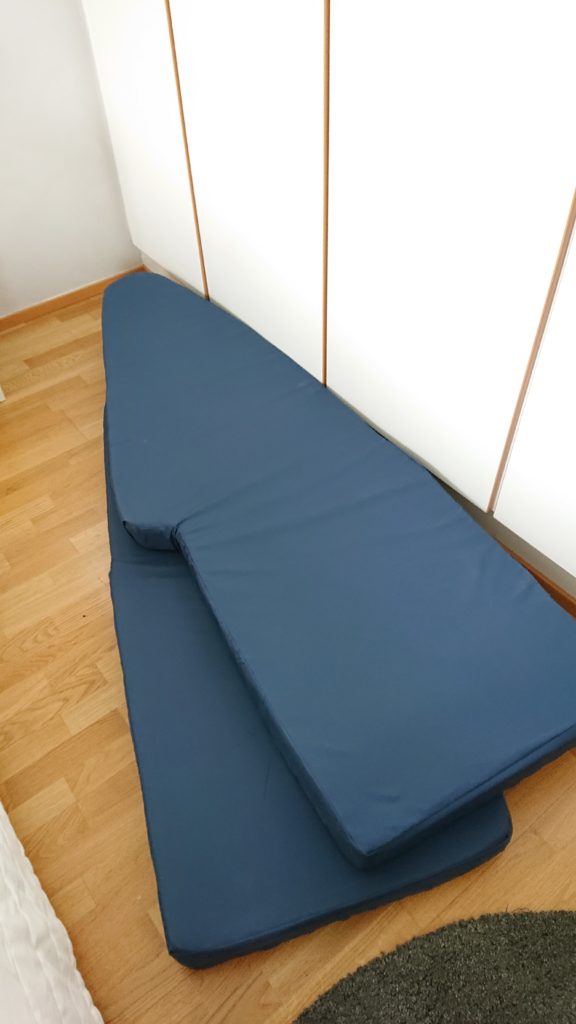
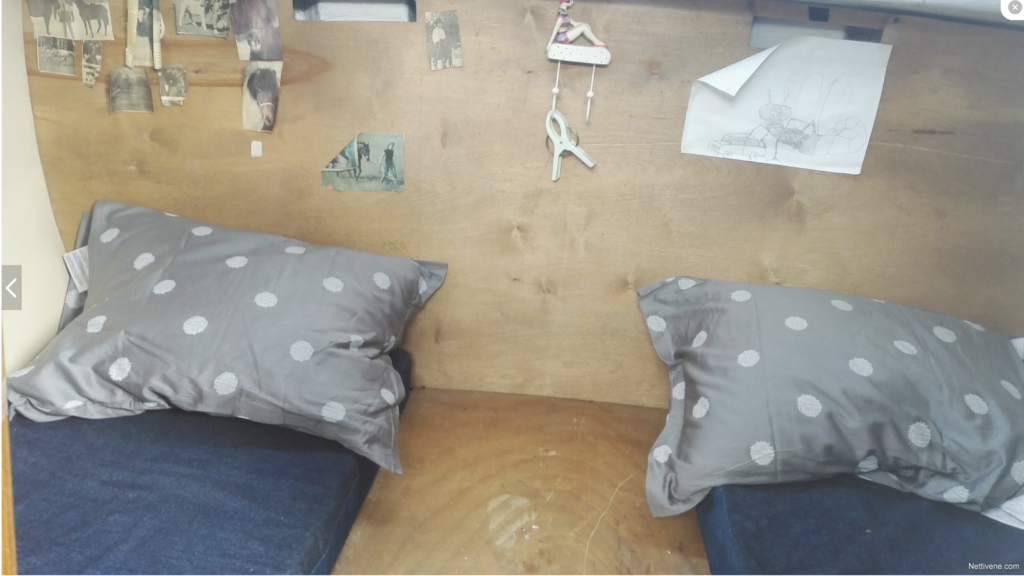
The covers for the bed cushions had started falling apart and some of the mattresses had an unpleasant smell so when Ikea had a sale of foam mattresses (34,99€ a piece) we bought 5 of them and cut out new ones, using the old ones as templates. We then ordered 15m of fabric from Germany and sewed new covers.
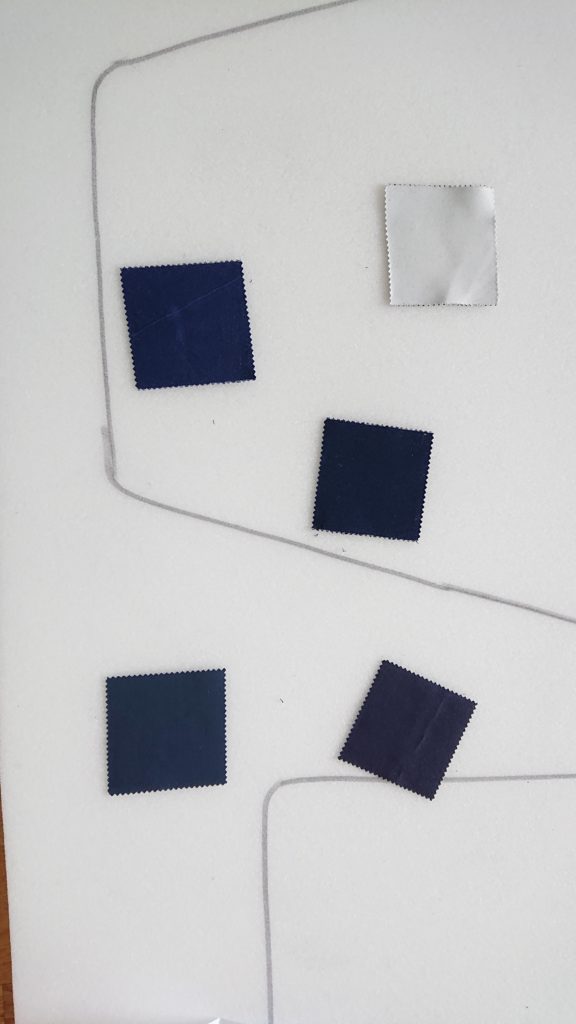
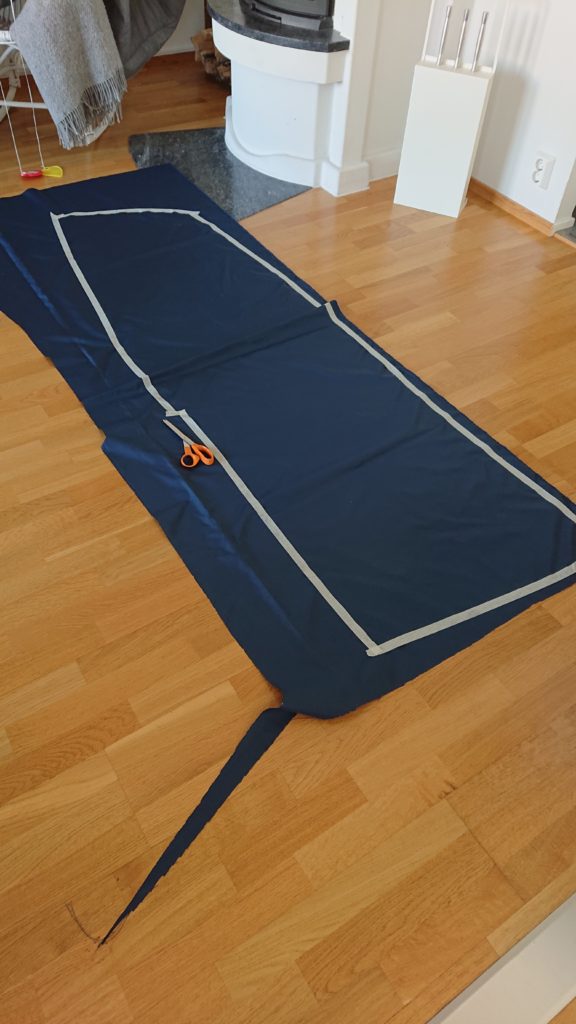
A bread knife was great at cutting the foamSome moisture has reached the old mattress…Here are some test pieces of different fabrics. The white one is for curtainsTracing the template with masking tapeLittle brother helping mom to sew his own bedReady and fresh!
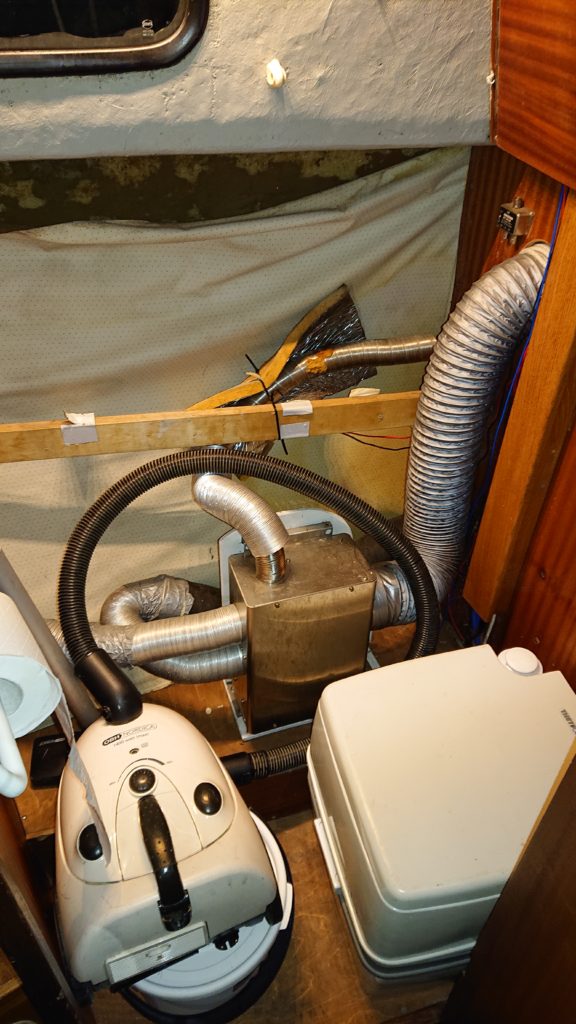
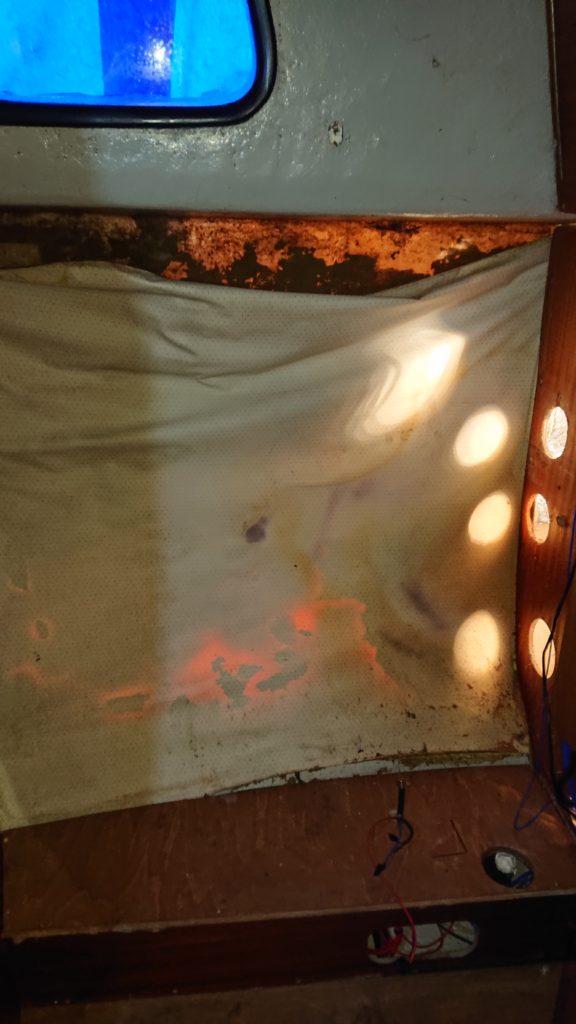
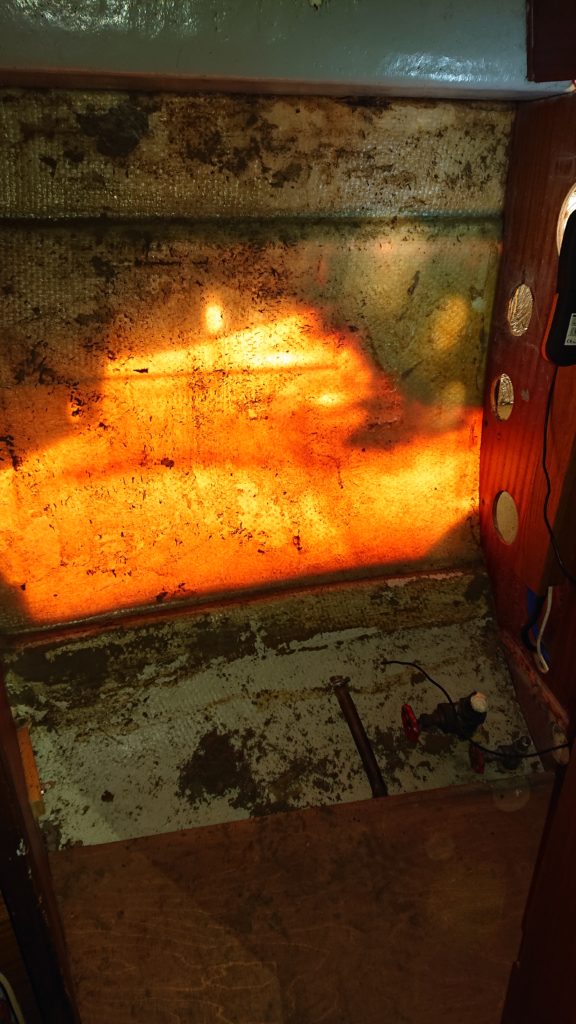
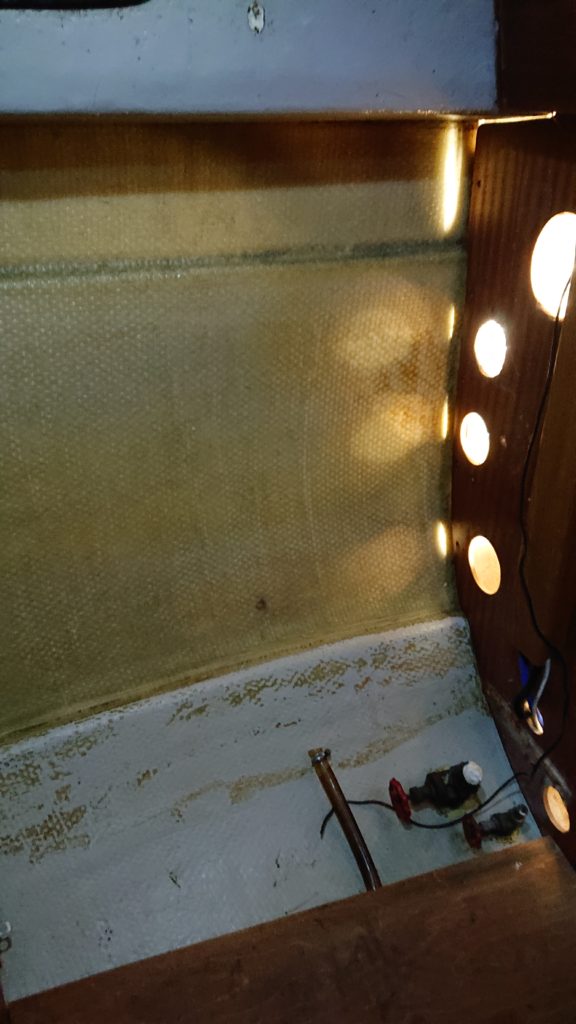
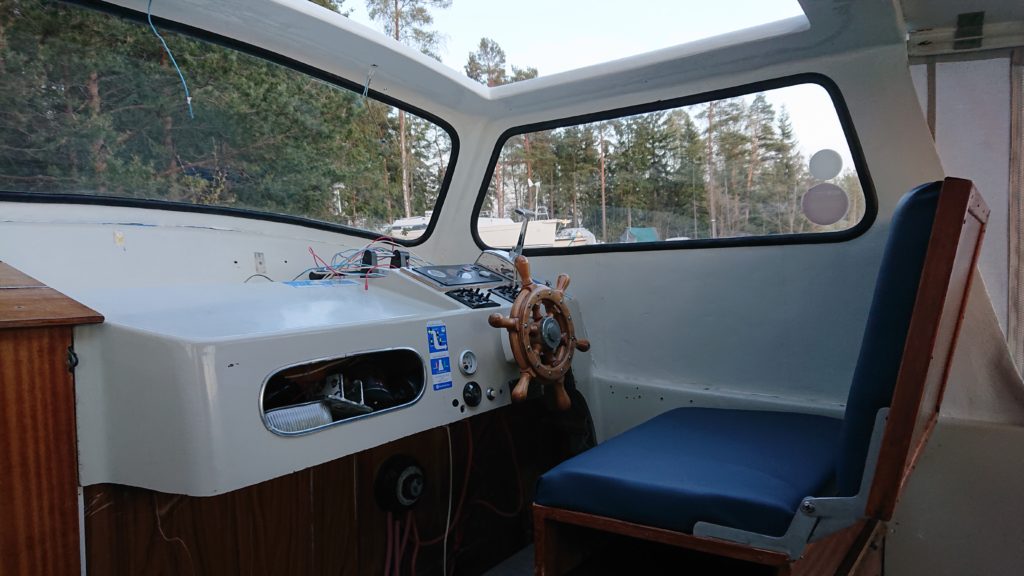
The original wall vinyl had almost completely dropped from the upper side and was pretty disgusting. The heater was installed in the middle of the floor making the already small head even smaller. We decided to get rid of the vinyl and clean the wall and also try to move the heater to the cockpit area.
The old vinyl is pulled offThe glue was on there pretty good, heat gun and paint scraper helped to get rid of it
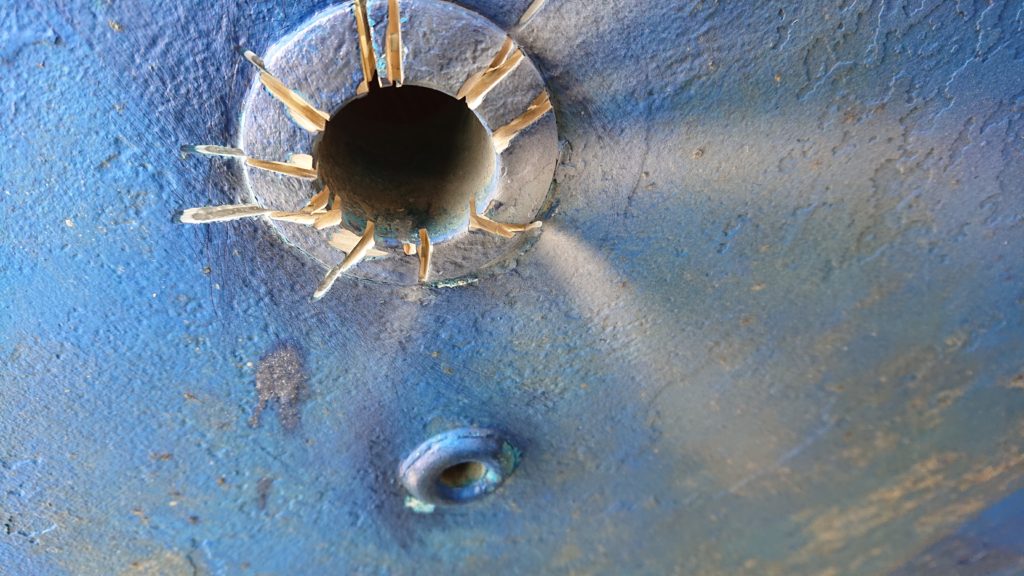
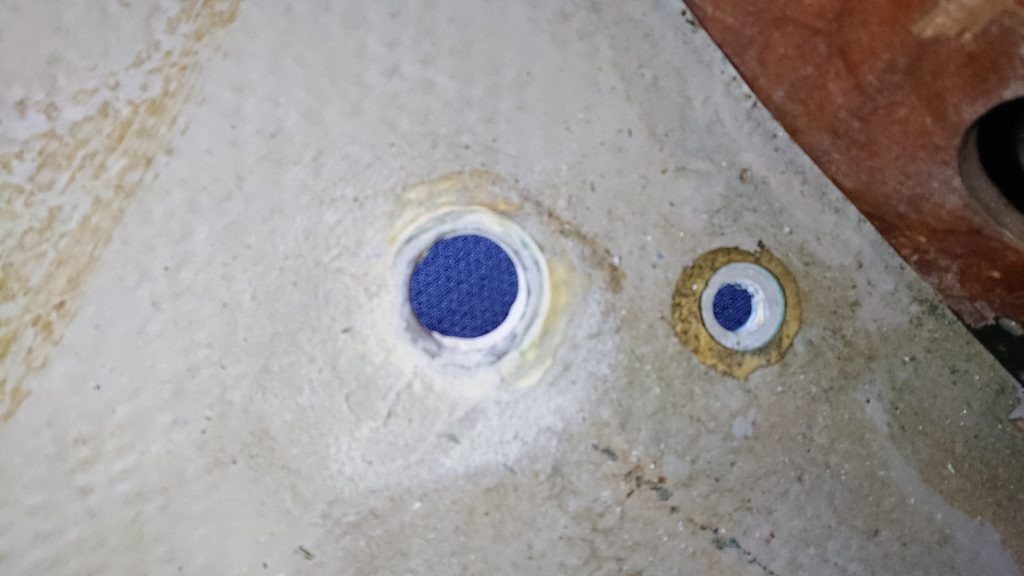
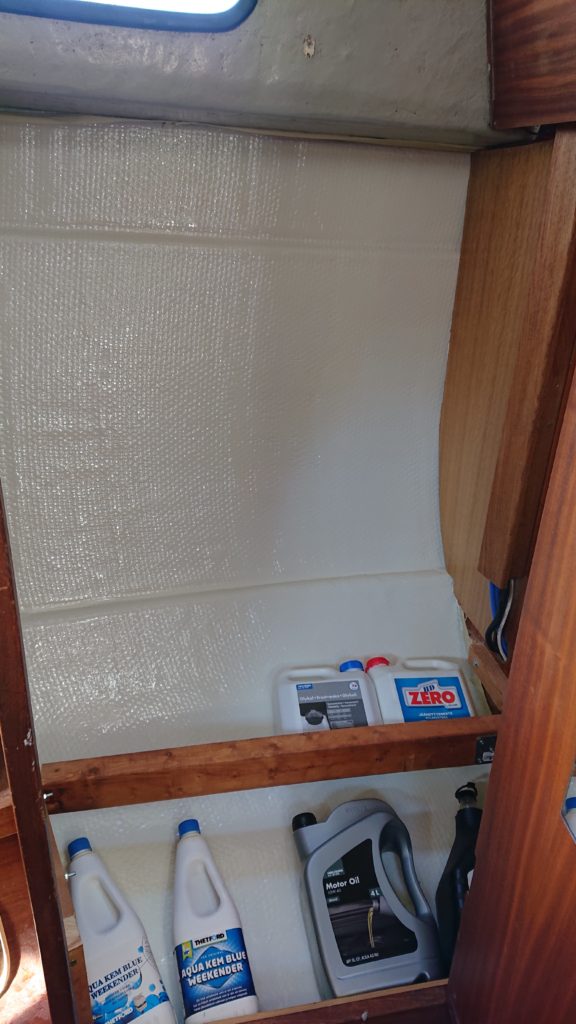
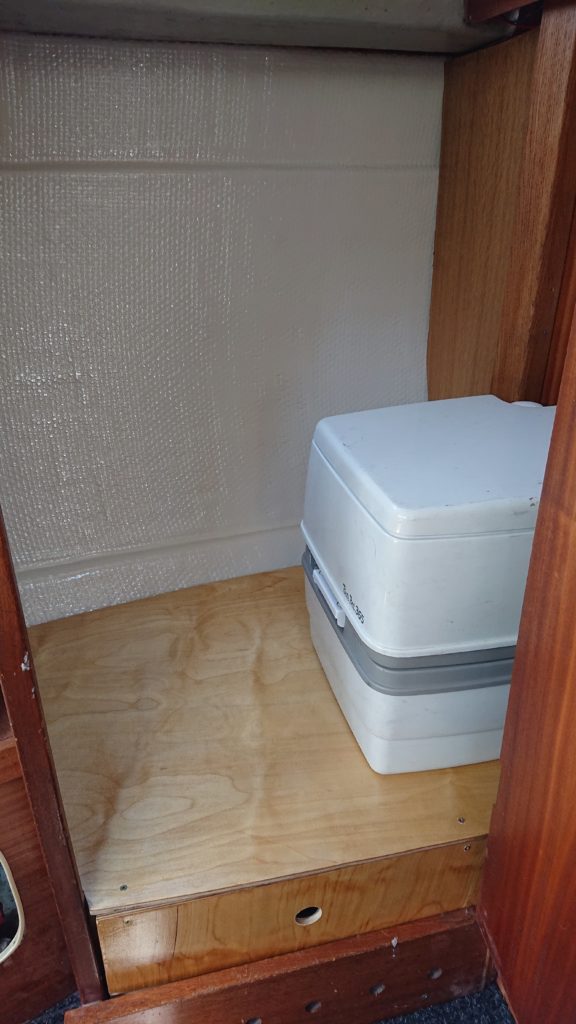
We also decided to remove the two thru-hulls since we only use a Porta Potti as the closest pumpout station from our home port is a few hours away. As the Porta Potti is square and pretty big, we also wanted to enlarge the floor space a bit by lifting it up. The space created under the new floor board can then be used as storage for e.g. the toilet chemicals, engine oils etc.
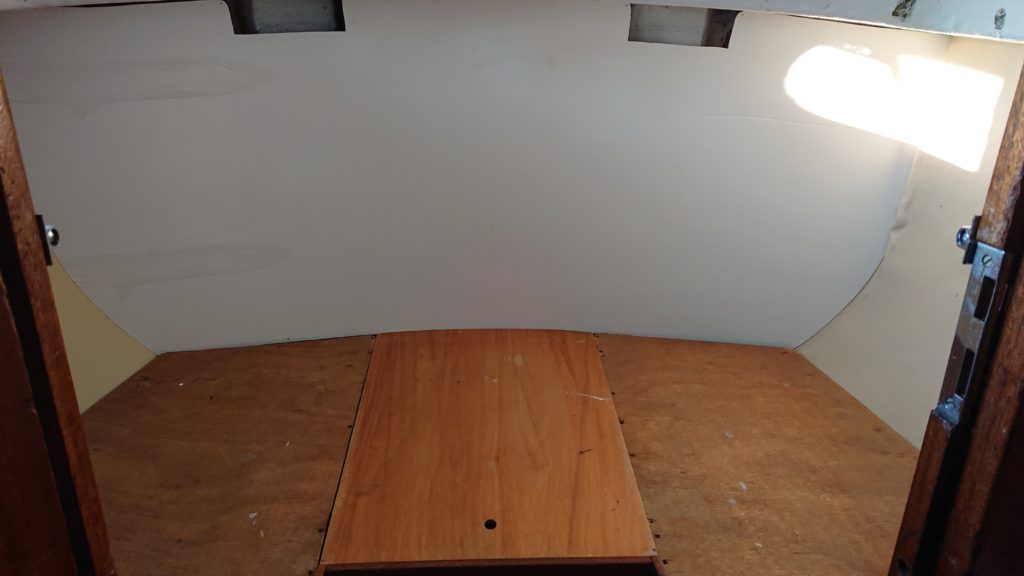
The old valves and thru-hulls were hard to remove and needed some violence in the form of metal saw and angle grinderAn angle grinder was used to cut the outer flange in to slices that could be chopped offThru-hulls be gone!Sanding the areaFirst layerof fiber glass on the outsideHere the epoxy is curing while being heated a bit with the lamp and the heatgunAfter about 8 layers of fiber glass on both sides the surface was faired with micro ballonsFinally a coat of clean epoxy and then bottom paintThru-hulls removed, wall and floor painted, support for the new floor built and a piece of plywood put on the aft wall to cover all the big holesNew floor varnished and ready. The fingerhole allows for lifting the whole floor to get access under the floor
Still needs a shelf or something and then it’s done!
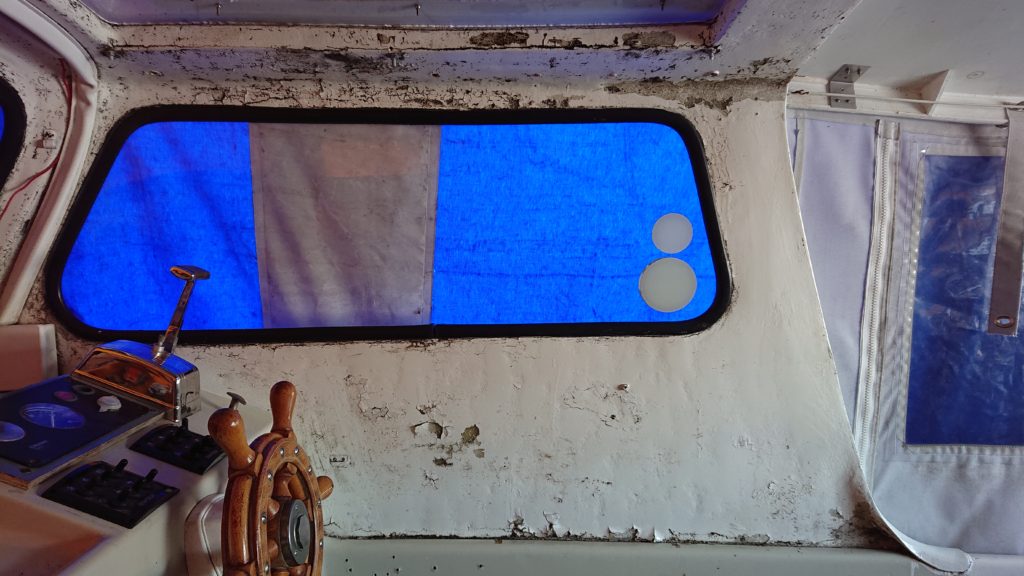
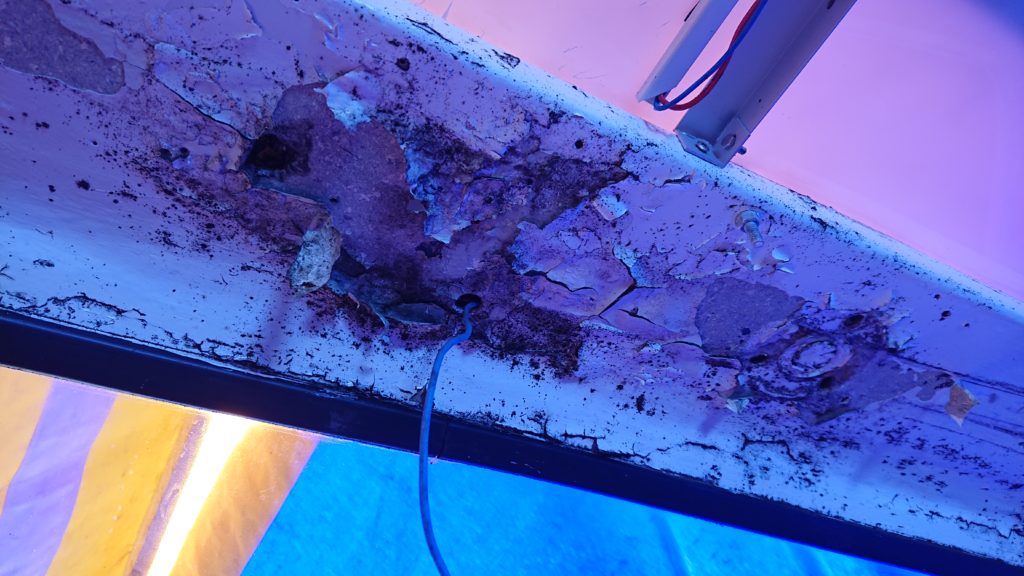
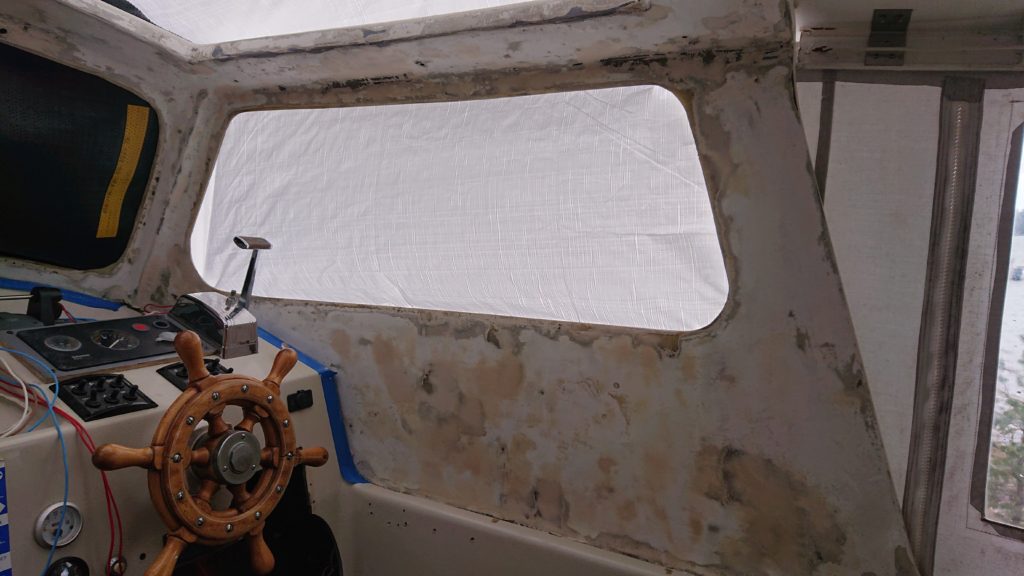
The biggest and most visible issue with the boat when we bought it was the walls and ceiling of the doghouse where the paint had started flaking off badly.
Port sideStarboardThe hole where wiring goes trough the roof had let in some water
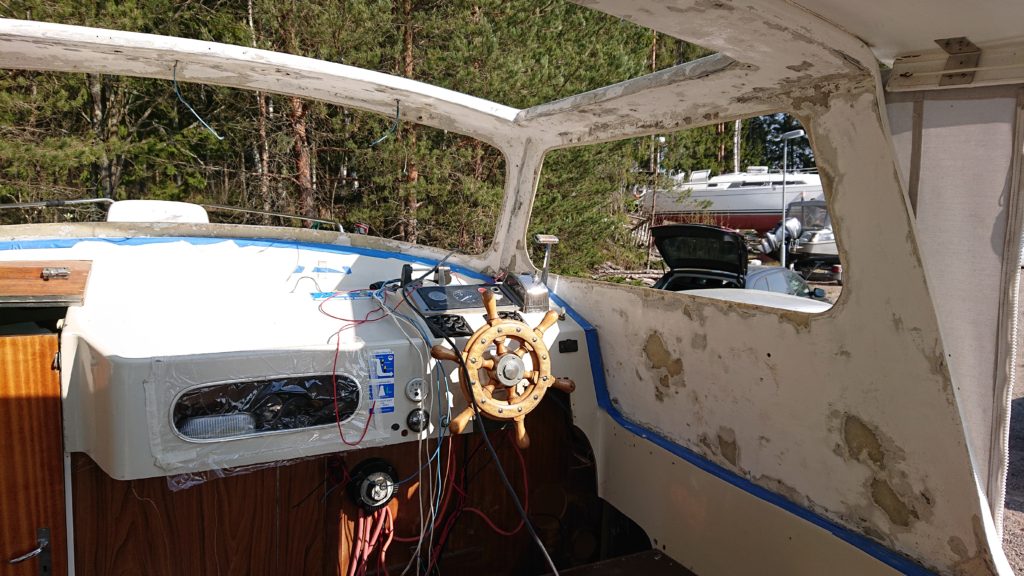
I started off with scraping off all the loose paint. After that quite a lot of sanding, the best tool for the job was a “Mouse” kind of sanders and a 40 grit paper. I never intended do remove all of the old paint, just the loose stuff.
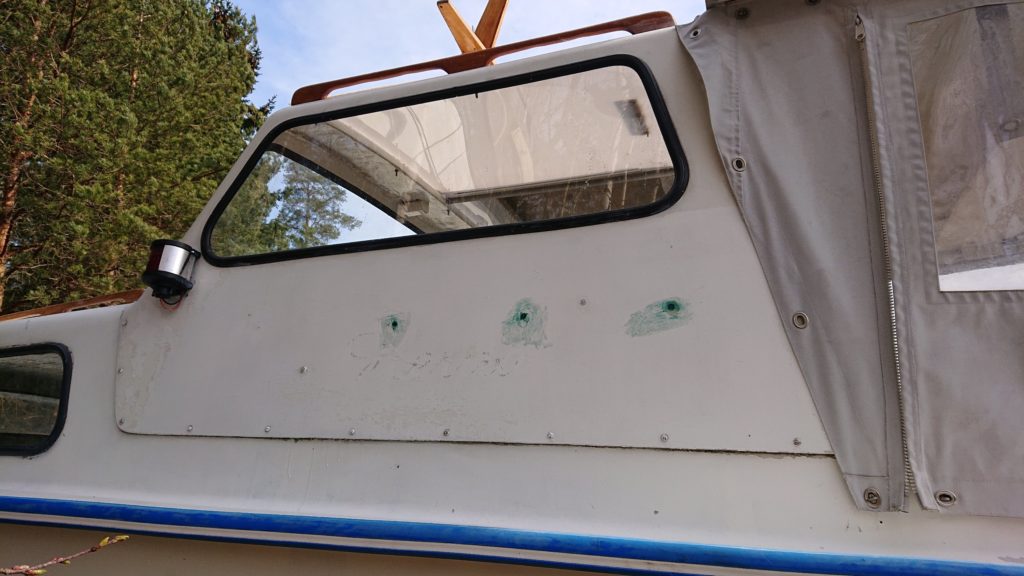
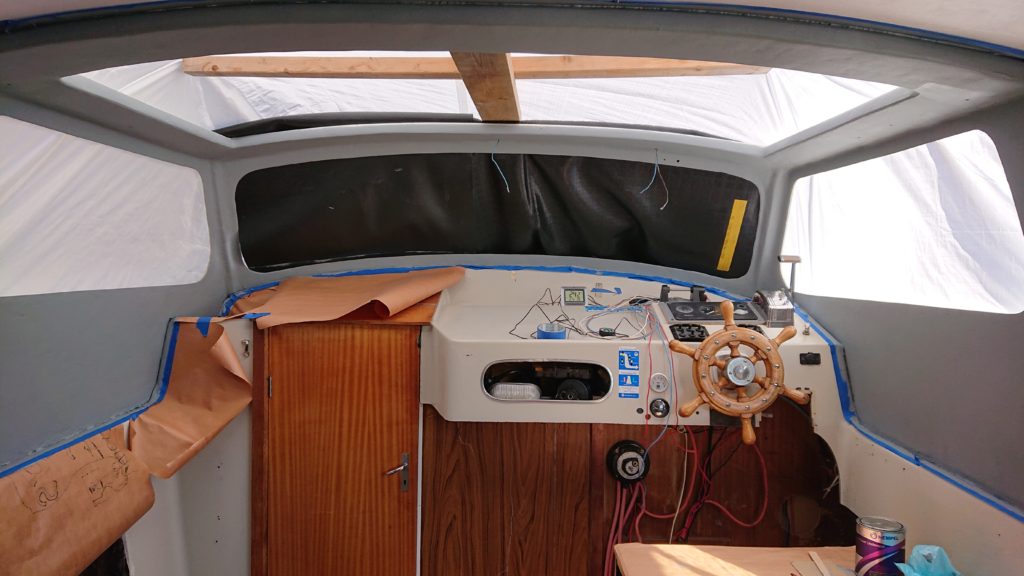
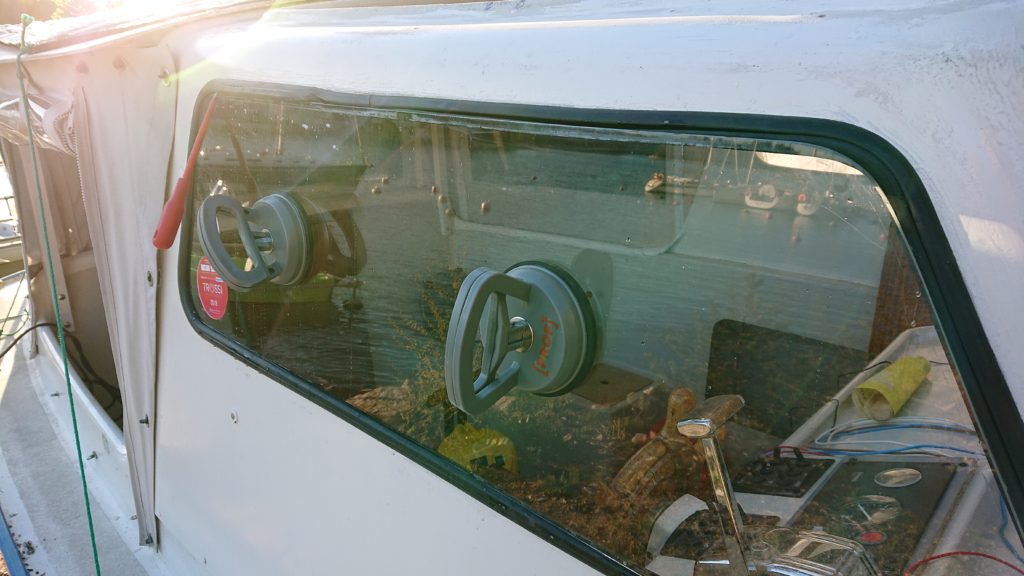
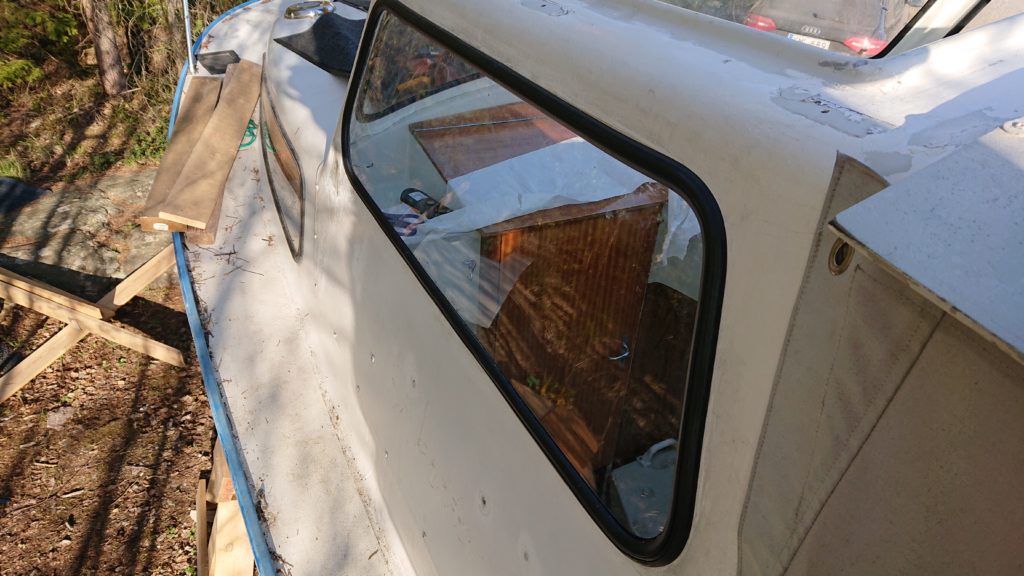
At first I thought I’d do just a “quick&dirty” fix but ultimately decided to remove the roof hatch, the windows and all of the electrical wiring to really get into the corners as well. Since the windows were removed, it was also a good opportunity to replace the (original?) window seals that were almost all leaking.
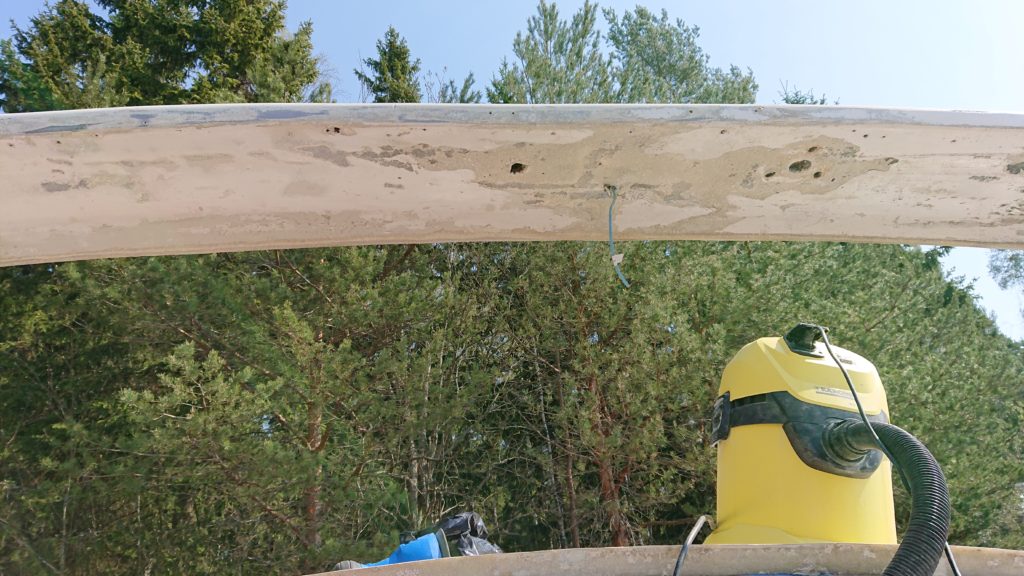
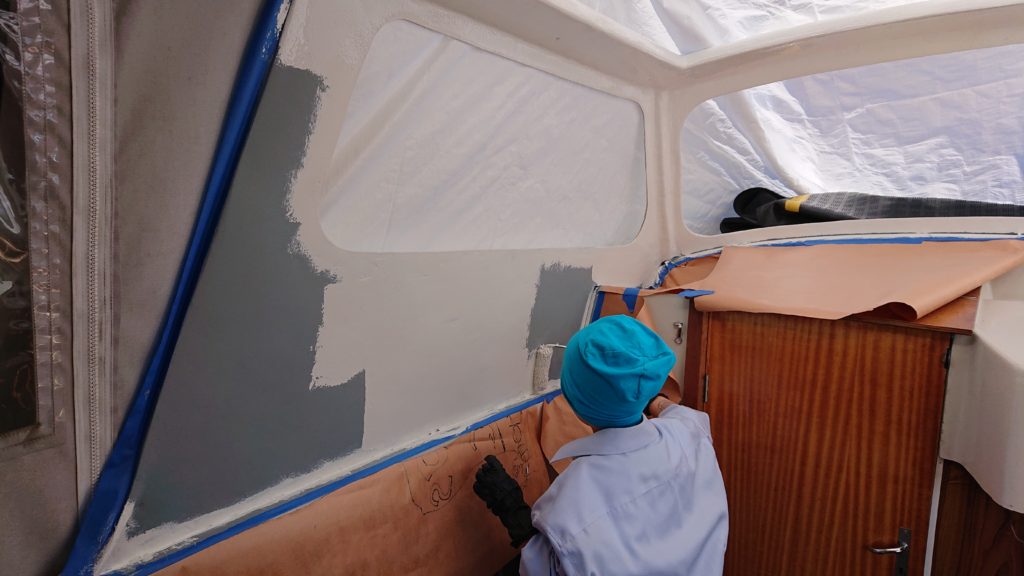
Then it was time for fairing. On the port side I tried out some different fairing compounds, deciding finally to go with West system epoxy and their 410 Microlight filler. It creates a fairing compound that is easy to lay out and easy to sand. I put on fairing and sanded three times, it’s far from perfect but good enough for now.
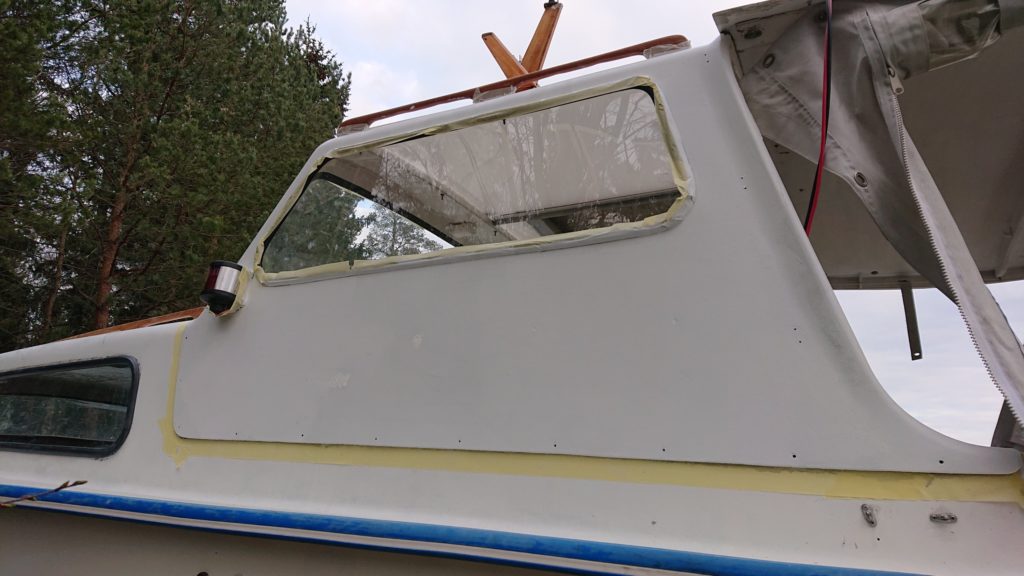
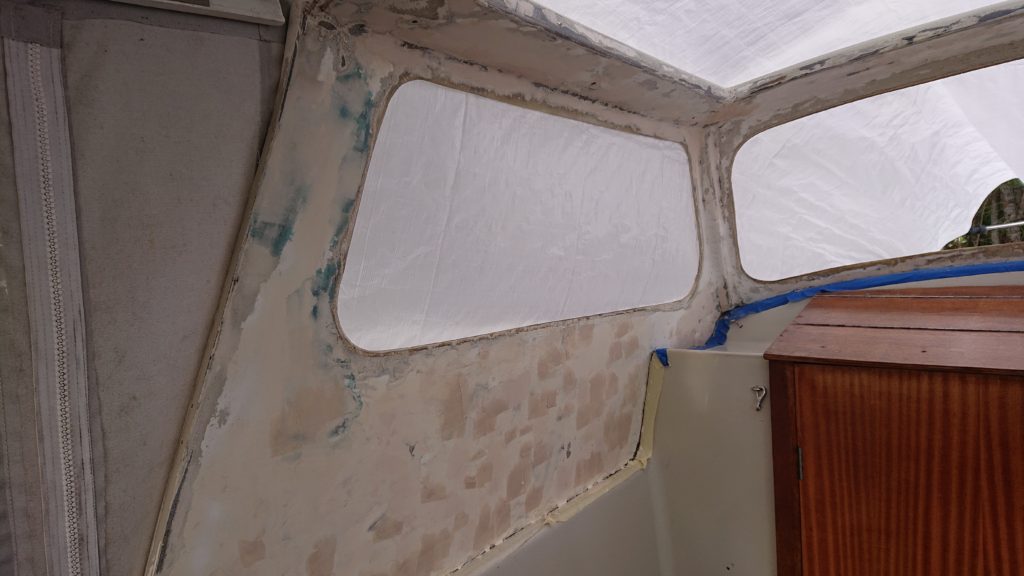
Next step some primer, I used Hempel Primer Undercoat and put on two layers of it. It already starts to look a lot better!
After the first layer of primer
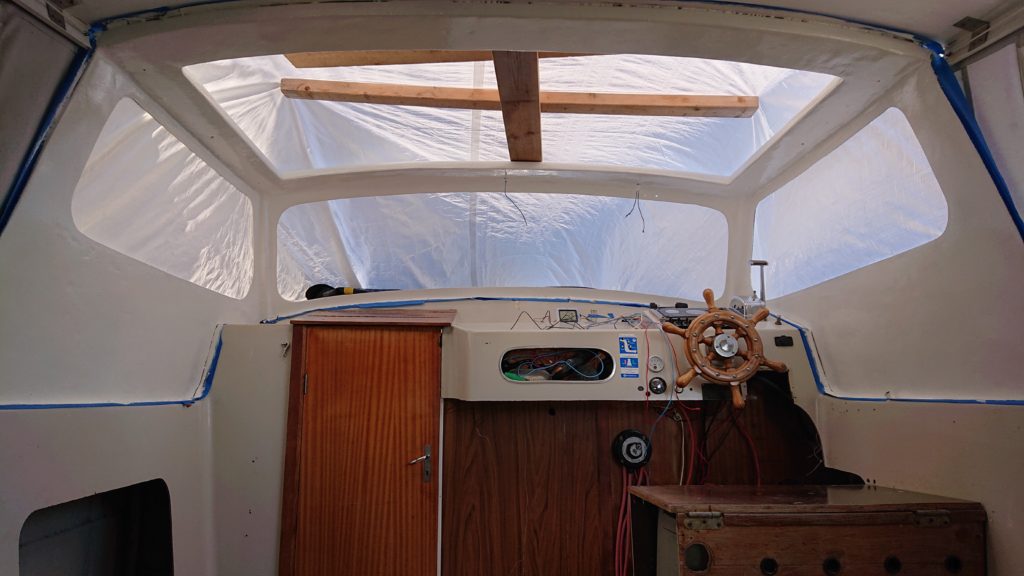
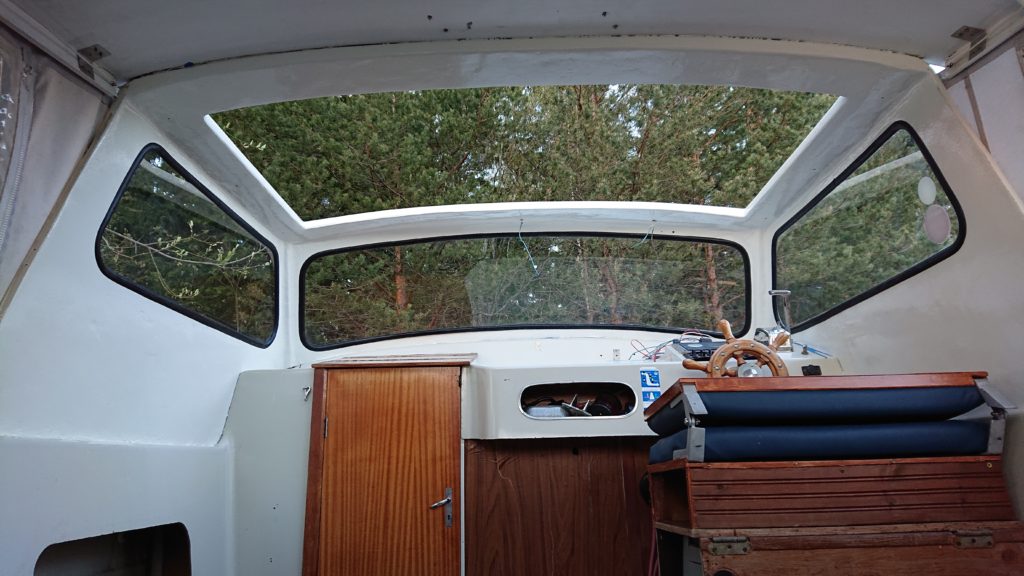
The next day it was time to put on the actual topcoat, which was Hempel Brilliant Gloss Topcoat and the color off-white. The biggest reason for this paint was that two full cans actually came with the boat so why not use it. One can (0,75l) was just enough for two coats, will use the second can for the outer side of the doghouse once the weather permits painting outside.
A little helperTwo coats and the painting is done!
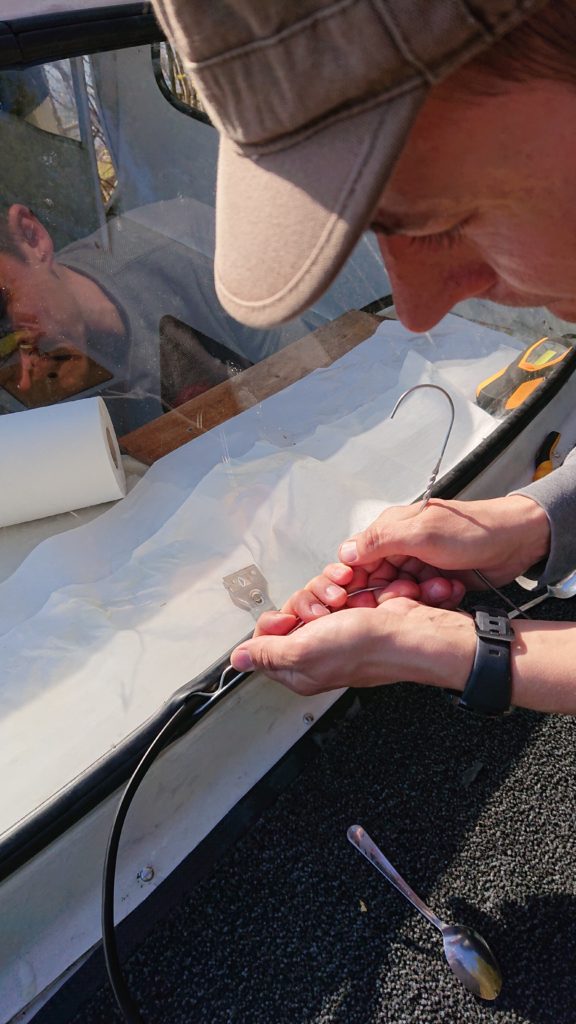
The reinstallation of the windows was as expected a bit tricky but with the help of soapy water, teaspoons and a bent coat hanger it eventually went pretty smoothly.
A coat hanger and teaspoons were a big help in the installation
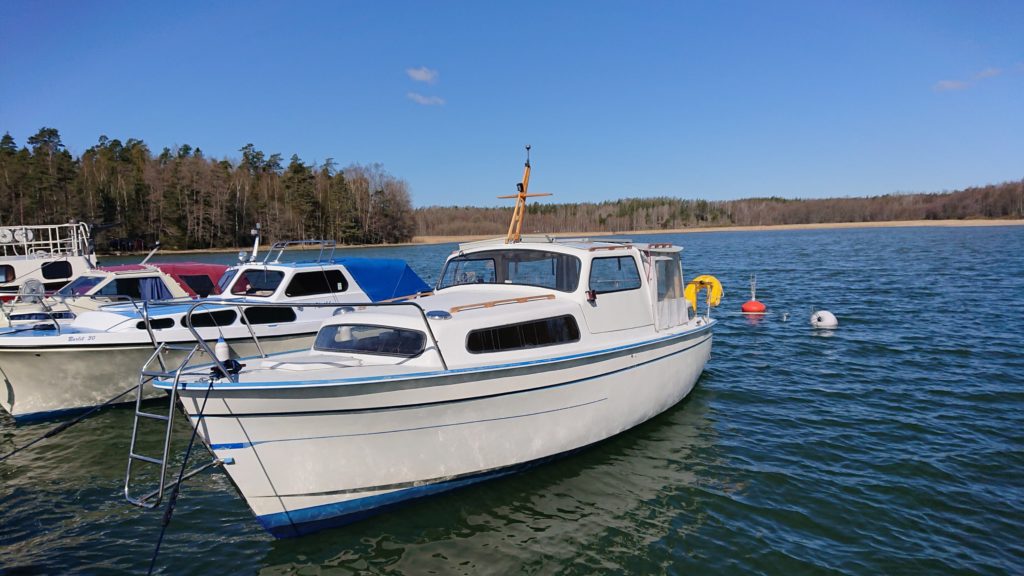
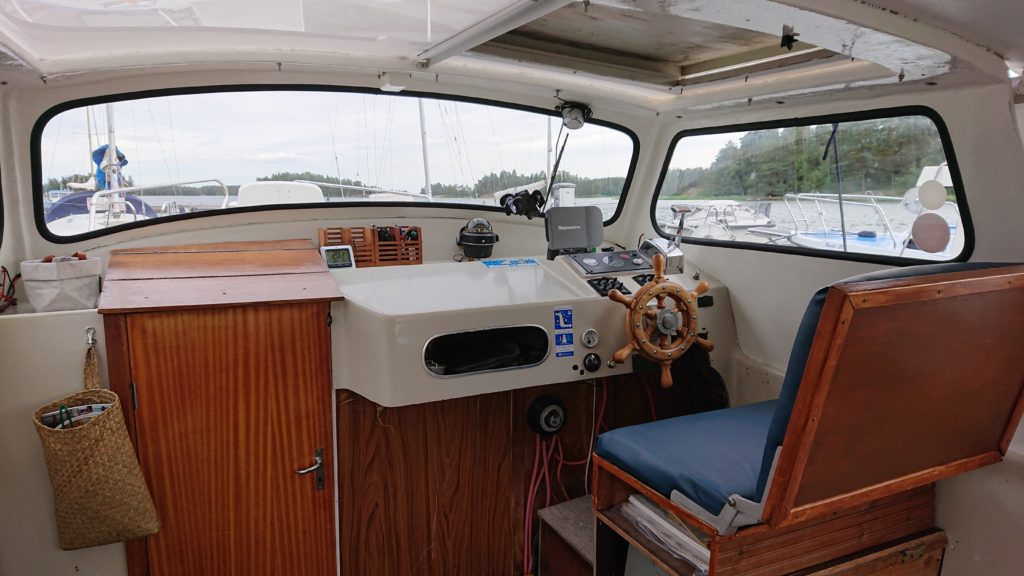
Done! Just in time on the evening before putting the boat back in the water.
*Updated 16.8.2019* Added picture of final result with roof and electrics.
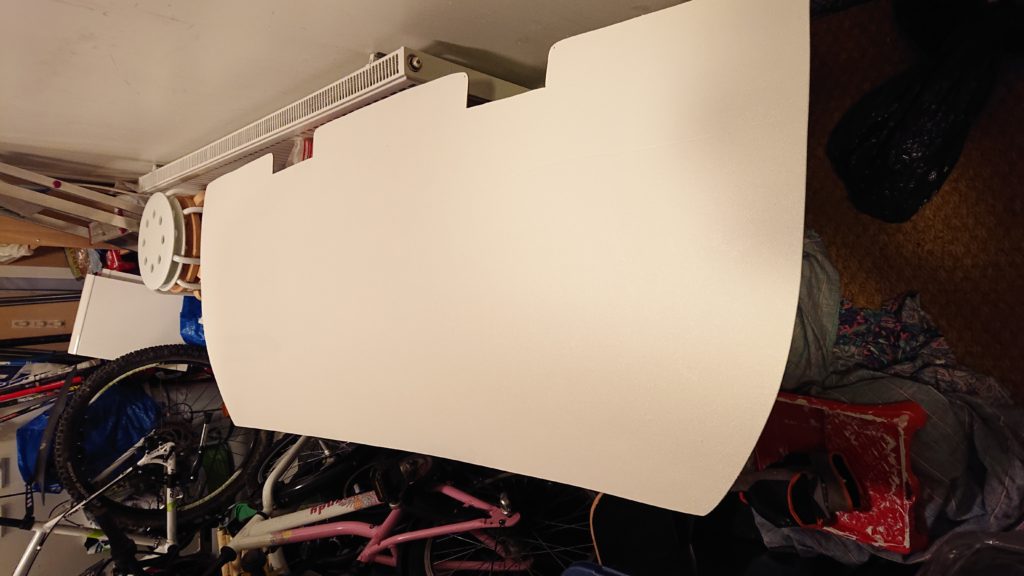
The rear cabin wall was a plain piece of plywood which we thought needed some brightening up so we painted it white for a much fresher look. Could have used a better paint and/or more layers but there was not enough time and space for that this time.
Final result. It’s a pretty tight fit to get this thing in and out of the rear cabin
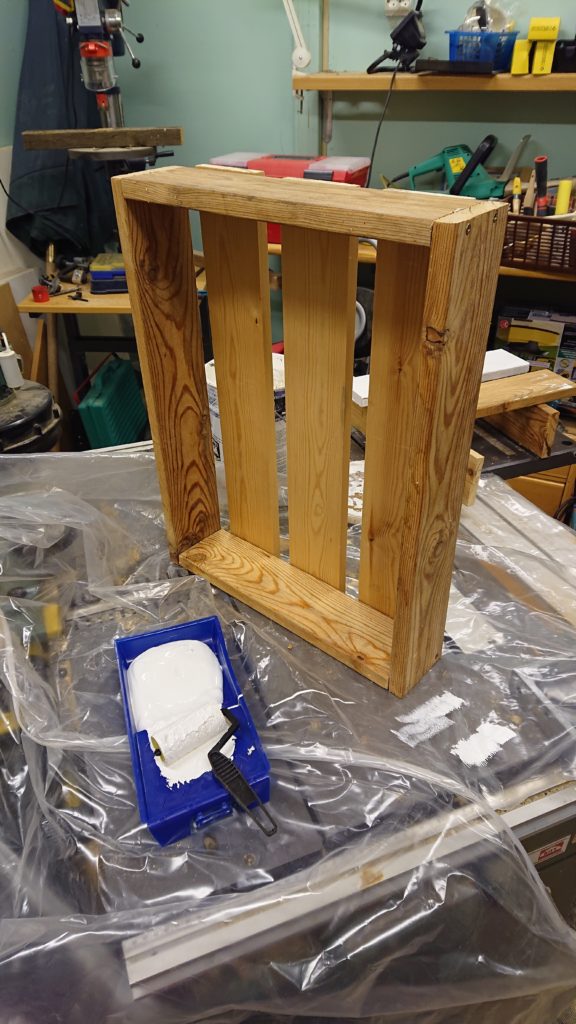
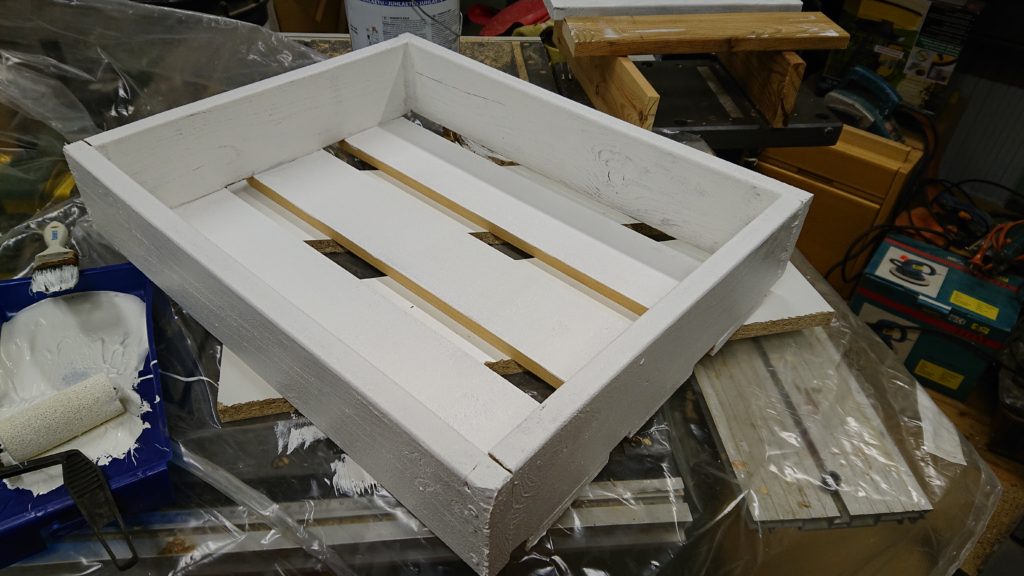
The old battery box came apart when picking it up so I had to build a new one from some scrap boards and white paint. It’s supposed to fit two big batteries. Another two boards are added on the bottom that are curved along the hull so the box stays horizontal.
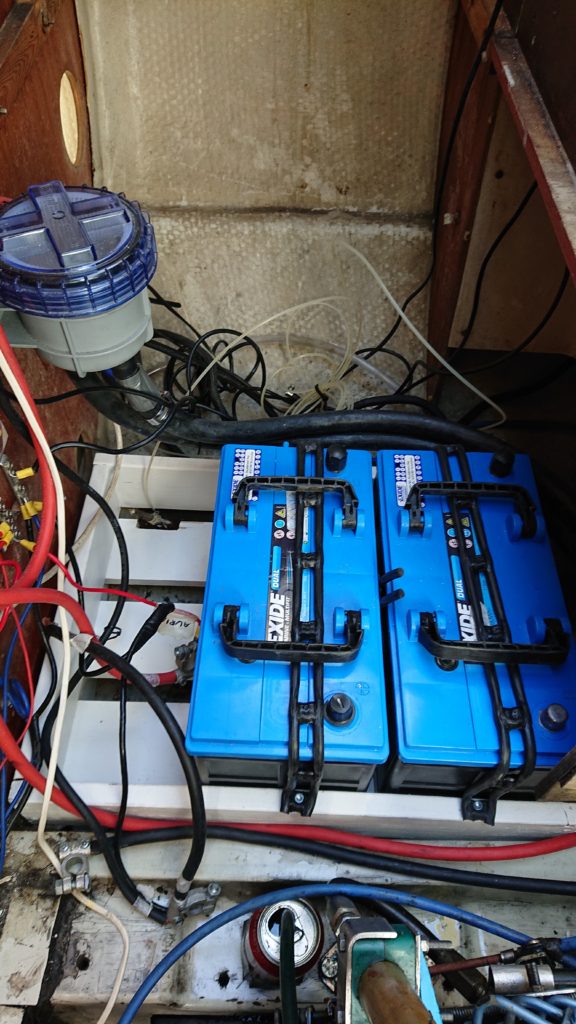
Installed in the boat with the batteries attached by rubber latches
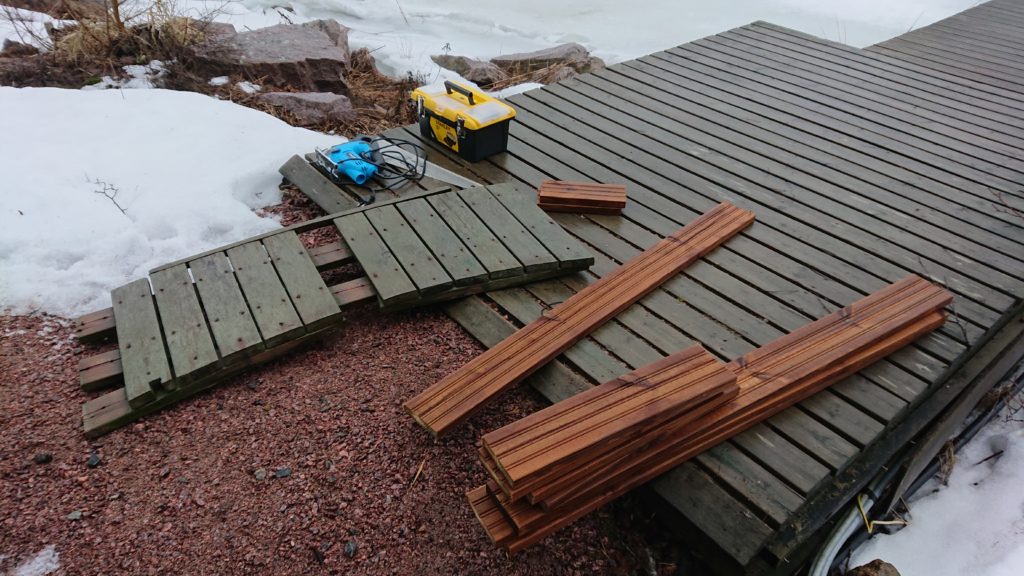
The old swim platform was pretty rotten and literally fell to pieces when we took it off.
The old swim platform and the wood for the new one
We decided to build a new one from ribbed, treated deck lumber.
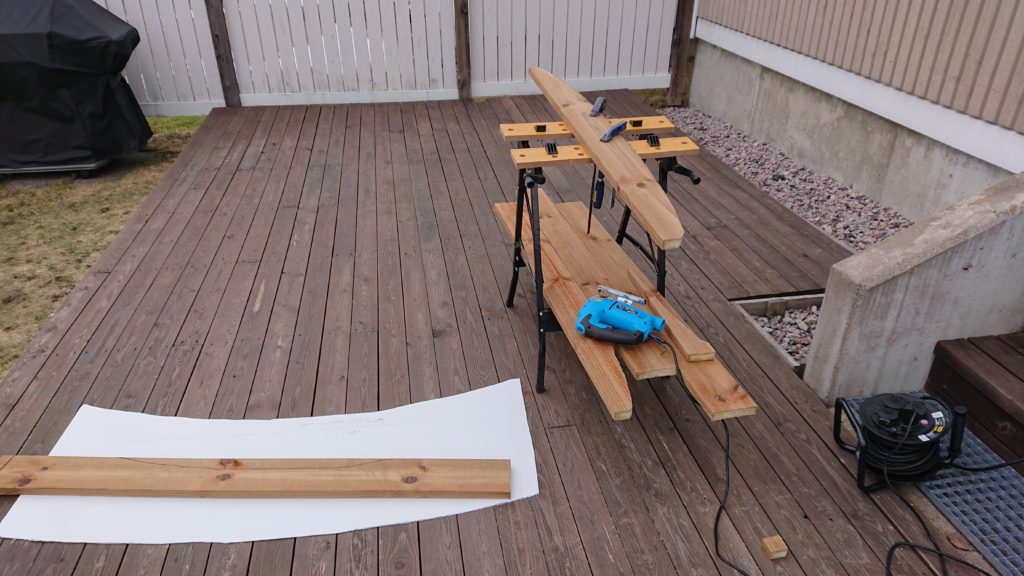
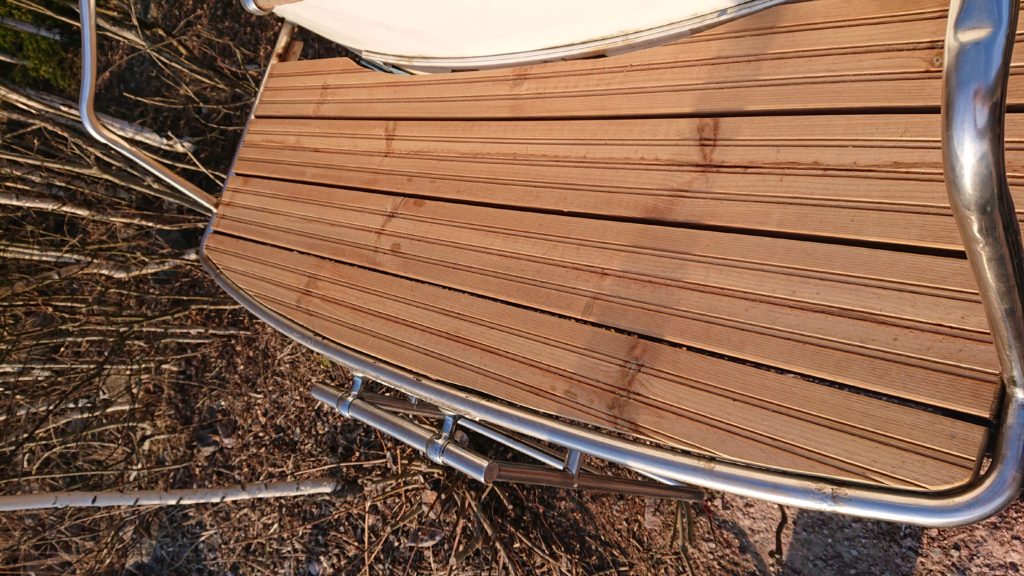
It was much harder than anticipated to get the curvature correct, the swim platform’s frame is not entirely symmetric. But finally with the help of a piece of cardboard/plastic as a template we managed. You can see that it’s home built but thats fine. The boards are screwed on from the underside with acid-resistant (A4) screws.
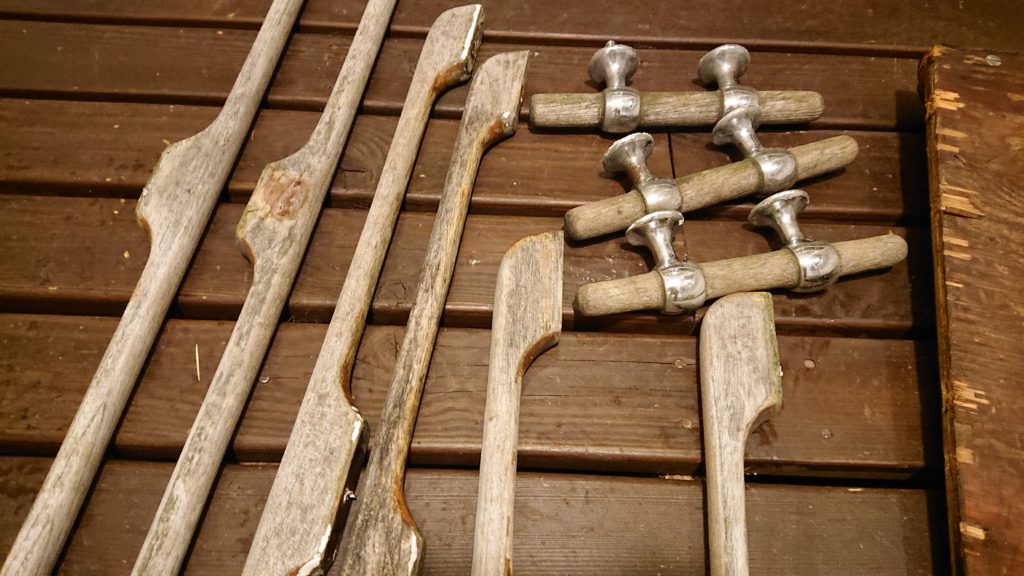
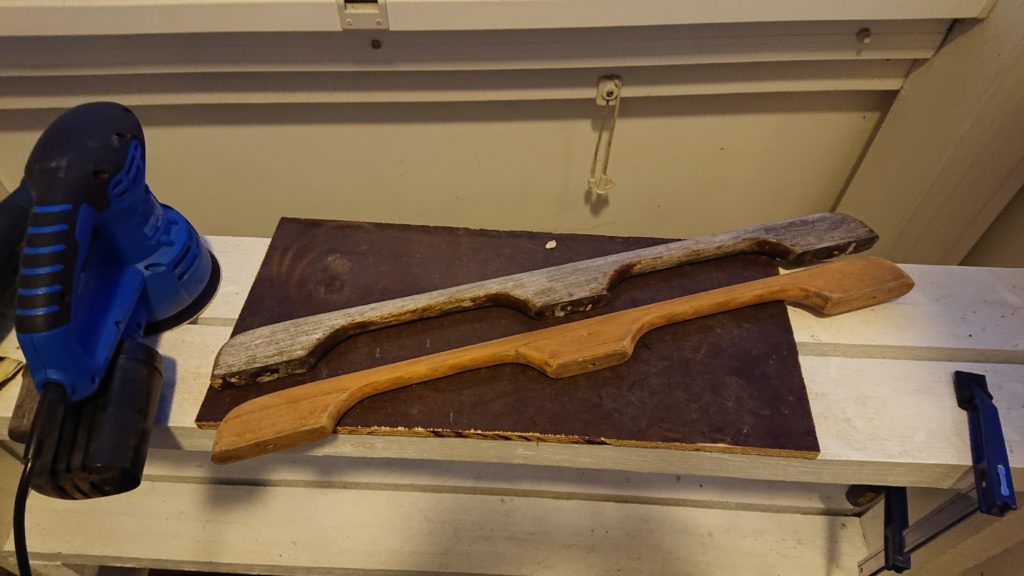
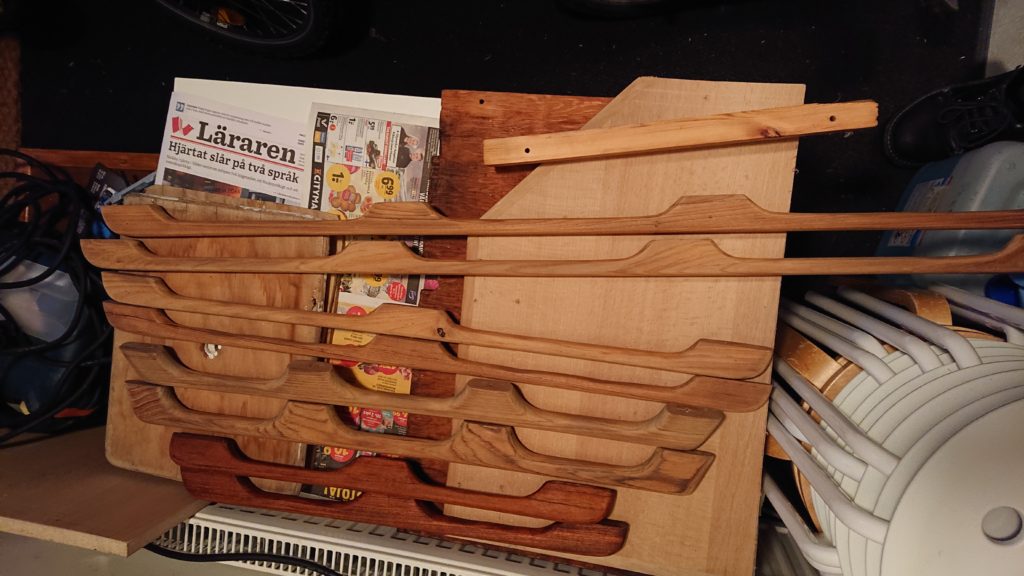
The original grab rails and cleats are made of teak so they are pretty dry and gray. Took them all off, sanded them properly and applied many layers of teak oil. Some say you should definitely put varnish on them, others say oil is enough and can be added when needed. I’ll try with only oil for this season, let’s see how it goes.
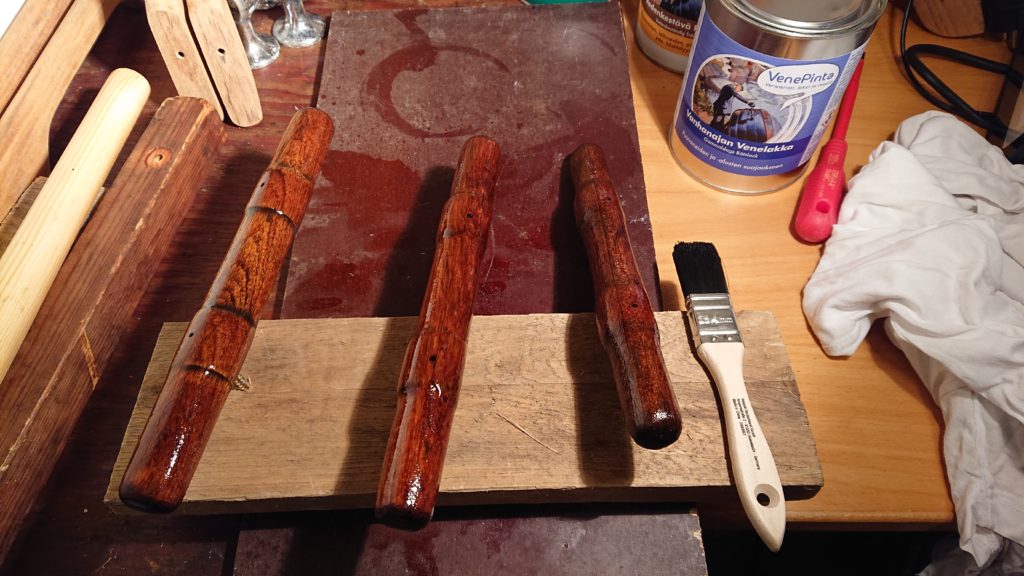
The cleats I did put varnish on, 7-8 layers and they look nice.
Before and after sandingWith and without oilApplying varnish